Following us on Facebook? Cool, then you’ve probably seen this. This is the first round up of our weekly social posts.
Never miss a moment of the build.
Jan. 1, 2019
So it’s the start of a new year, and we’re going to be starting it off right.
No, not with some resolution that we’ll forget about in a couple weeks. Instead, we’re starting up the first of our daily blogs. We’ve got big plans for the new year, both with the Budget Time Attack Evo 6 Build, as well as all the new content we will be posting up on our website. We want to be able to show a bit more of the day to day work that goes in to building the car, as well as have a place to rant about other random car stuff!
So where are we at? Well, we launched Brain Power Motorsports in the summer of 2018. At the time, we just wanted some place to post up all of the content we had from hours upon hours of work on the car. We picked a name for it, bought the domain, and soon got to work building the website and writing the articles that would live there. With the help of a friend in Tokyo, we even got a kick ass logo made up. The Facebook and Instagram page followed shortly after, and suddenly, we had a small group of supporters and followers. We want to thank everyone that has been following us these last few months. This thing is going to grow into something much bigger thanks to you.

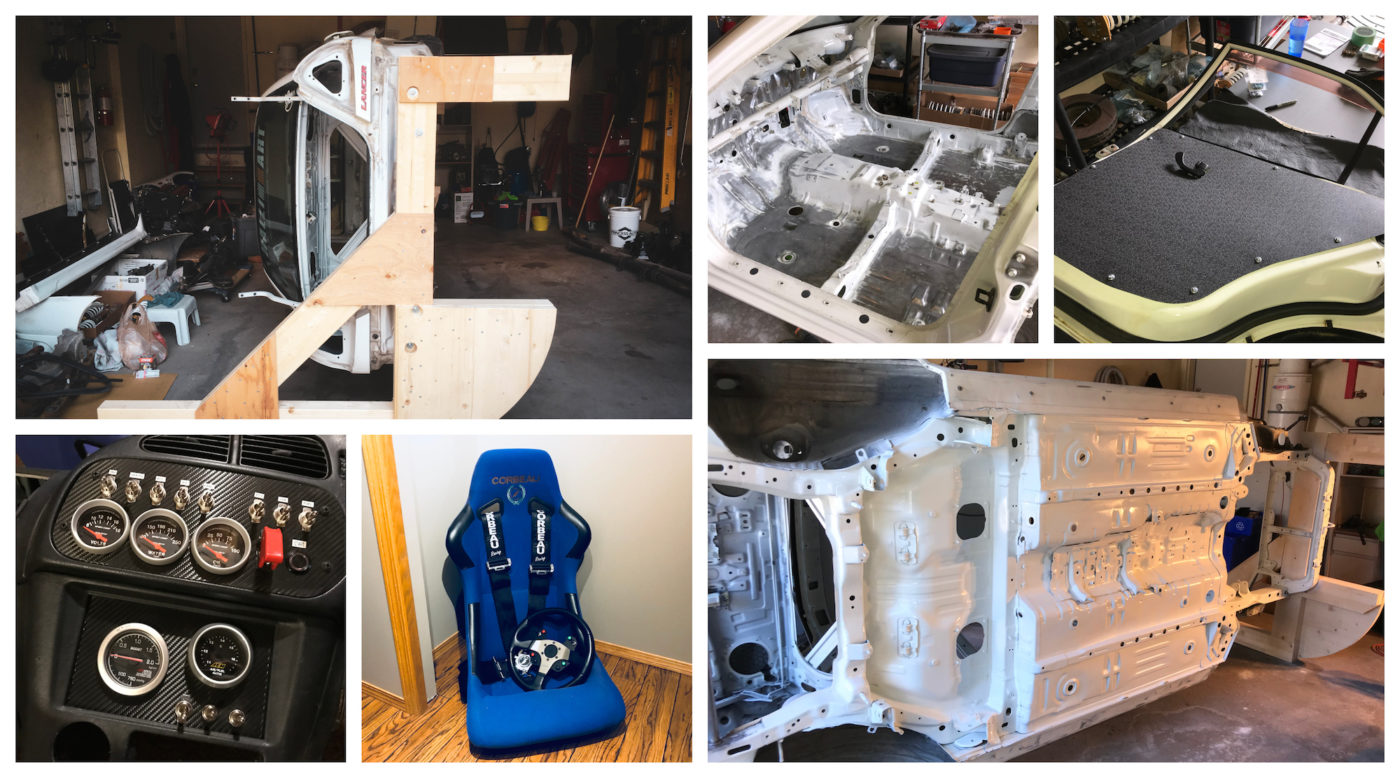
Now as for the car, it is probably best if we give a quick run down of where it’s at, and where it’s going. For anyone new visiting this blog, we’re working on a 1999 Mitsubishi Evo 6 GSR. It was imported back in 2015, and since then has undergone several transformations. At the moment, it is sitting on jack stands in the garage, awaiting a whole ton of custom modifications. It’s currently being built as a time attack car, following the ASN Canada Regulations for Time Attack.
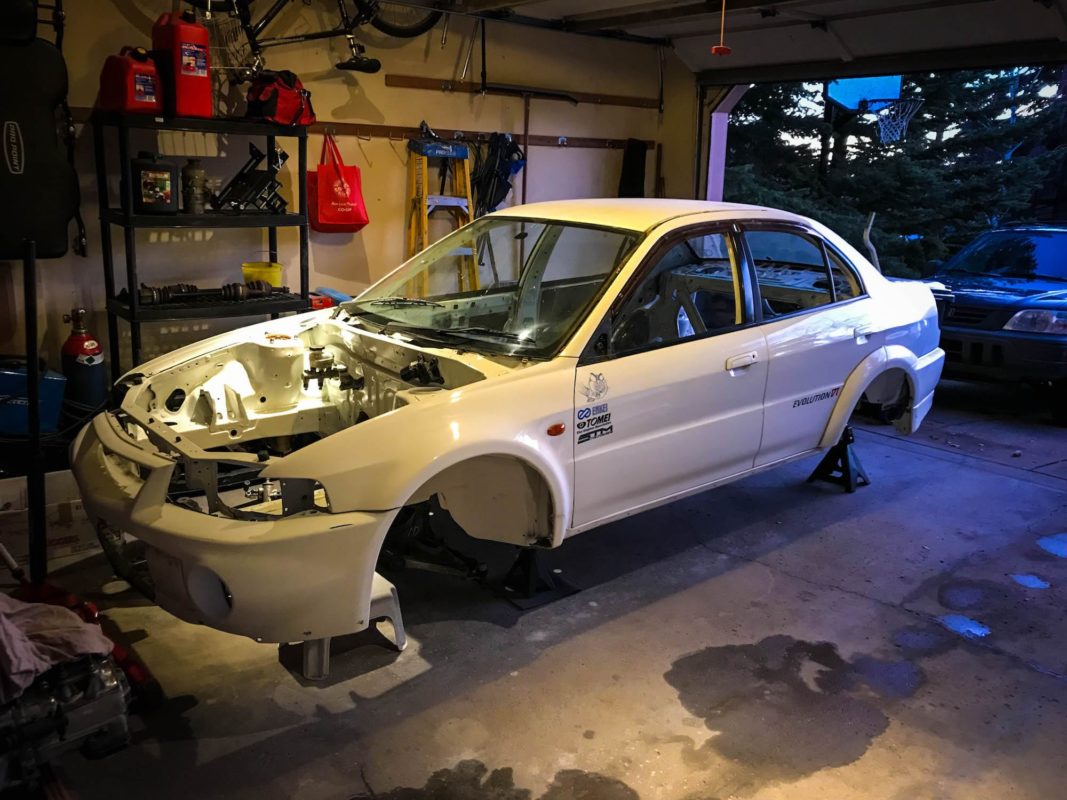
We constantly refer to it as the Budget Time Attack Evo 6. No, it’s not the cheapest project car, but we call it a budget car because we have done almost every bit of work on it. “Built not bought” is something we truly believe in.
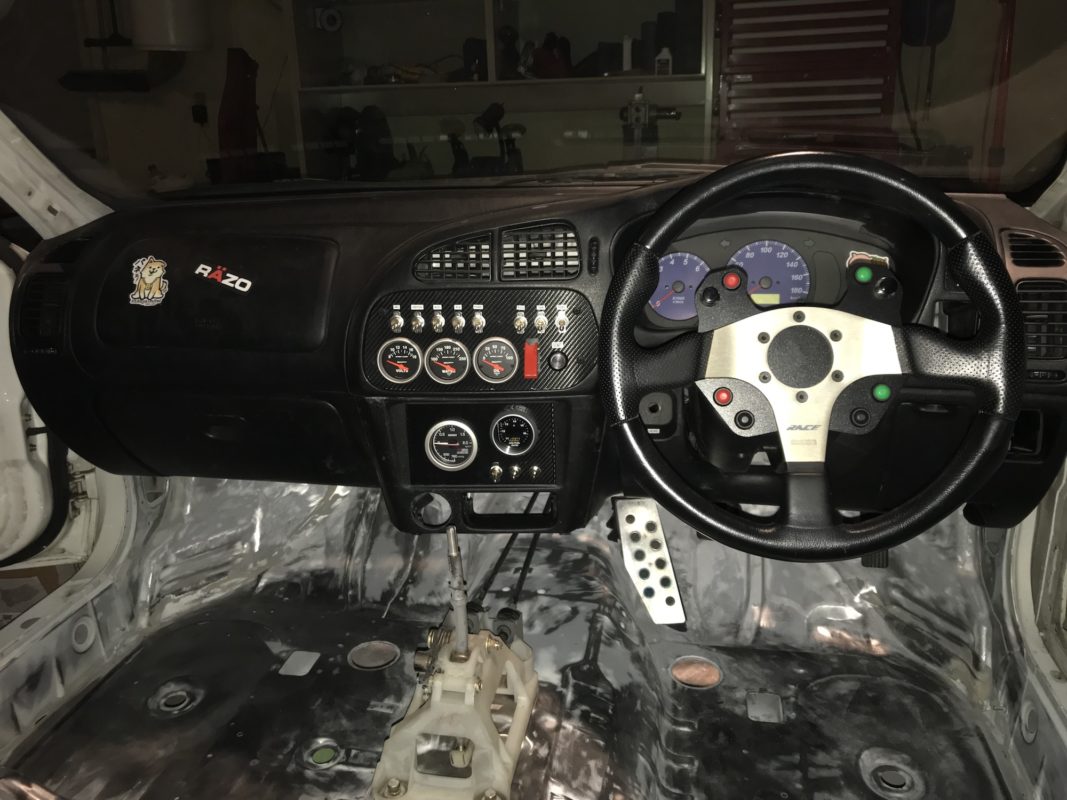
So what will you be seeing in these blogs? Well, the car is currently being rebuilt with a lot of exciting new features. Every wire in the car has been replaced with a custom harness. Since the vehicle is running on a Link G4 ECU, it was easy to custom wire up the engine bay and eliminate a lot of extra wires. With only one wiring harness visible, this will also make the engine bay look super clean. As well, all the new fuses and relays are now hidden under the dashboard, once again adding to the clean engine bay look we are after.
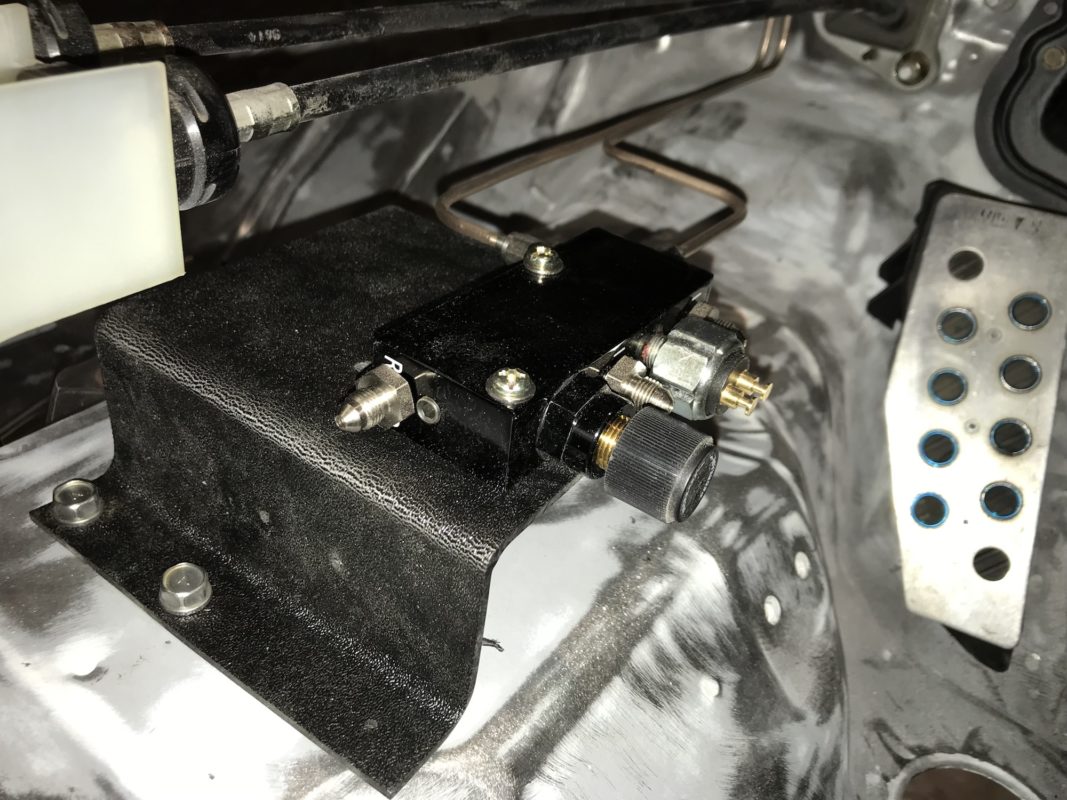
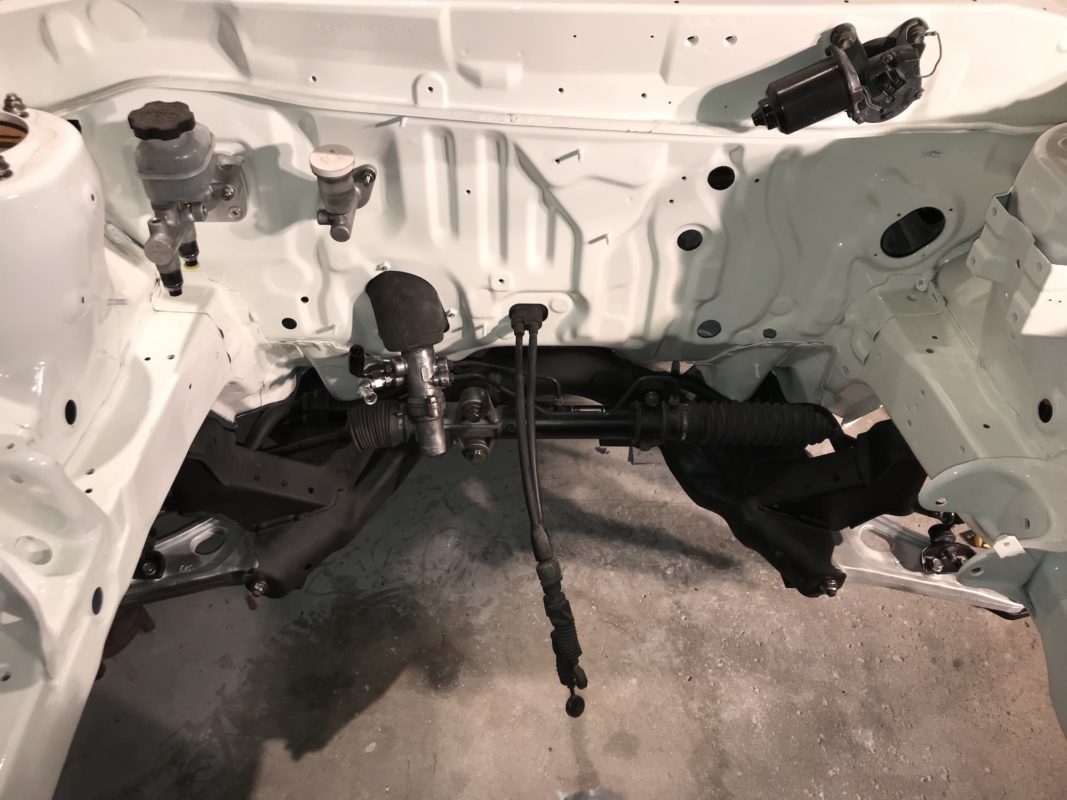
That’s not all that has been done to clean up the engine bay. For starters, the ABS system, brake booster, and all stock brake lines have been removed from the vehicle. Over the holidays, we’ve been working away at bending and flaring the new brake lines. Everything now has AN fittings, and a proportioning valve has been plumbed in to allow control over the rear brakes while driving. The master cylinder has also been replaced with a smaller bore to help with the switch to manual brakes.
The next system that is receiving a makeover is the power steering. The original belt driven system has been removed, and a new electric pump is ready to go in. We sourced the pump from a Saturn Astra, and hope to relocate it to either the cabin, or the trunk. We will be posting up an article on how we did this within the next couple months as we have already had several questions regarding the process.
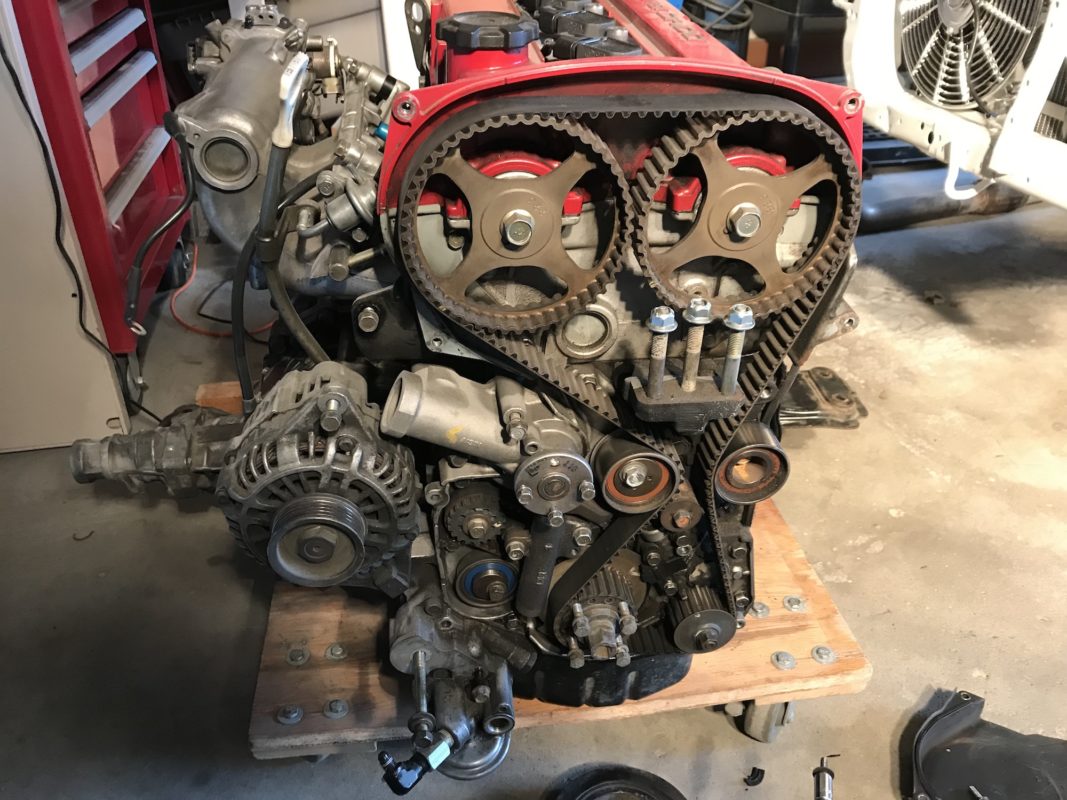
The engine has also received its fair share of work. Recent weeks have seen the dismantling of it as it prepares for a timing job. New 850cc injectors, a coil on plug setup, and a new fuel pressure regulator will also be added to compliment the Evo 9 turbo that it’s running. The stock manifolds remain for now, but we may look at porting them in the near future. New intercooler pipes are also being fabbed up, and will be getting a nice black powdercoat before they are installed.

The engine bay has a whole bunch of other parts coming its way in the next few months. A Mishimoto radiator, new high flow cooling fans, dual Mishimoto oil catch cans, and Torque Solution’s engine mount bushings. There’s plenty more to come, and you’ll have to keep checking in here to see what’s in store.
That’s all for today! Tomorrow we will go over the plans for the rest of the car. After that, these blogs will start to be more about the day to day work on the car. But as for today, we are going to sit back and relax. It’s a new year, and we couldn’t be more excited for what’s to come. Happy New Year!
Jan. 2, 2019
Today was a cleaning day for the car.
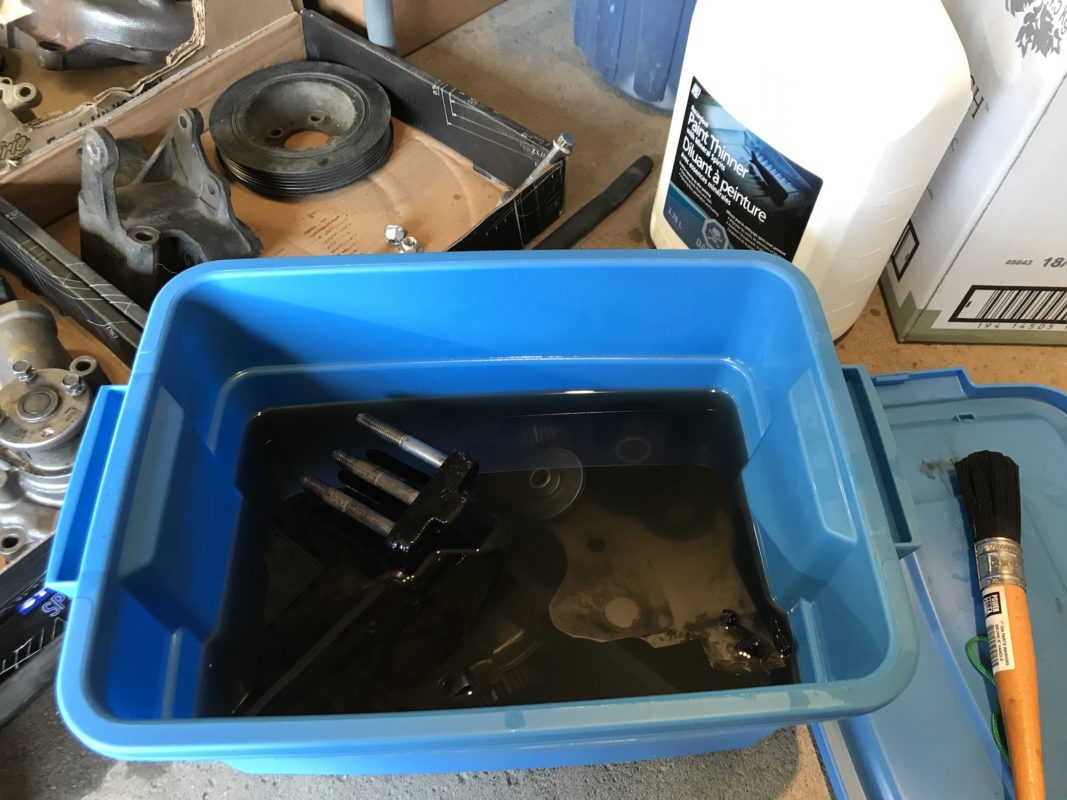
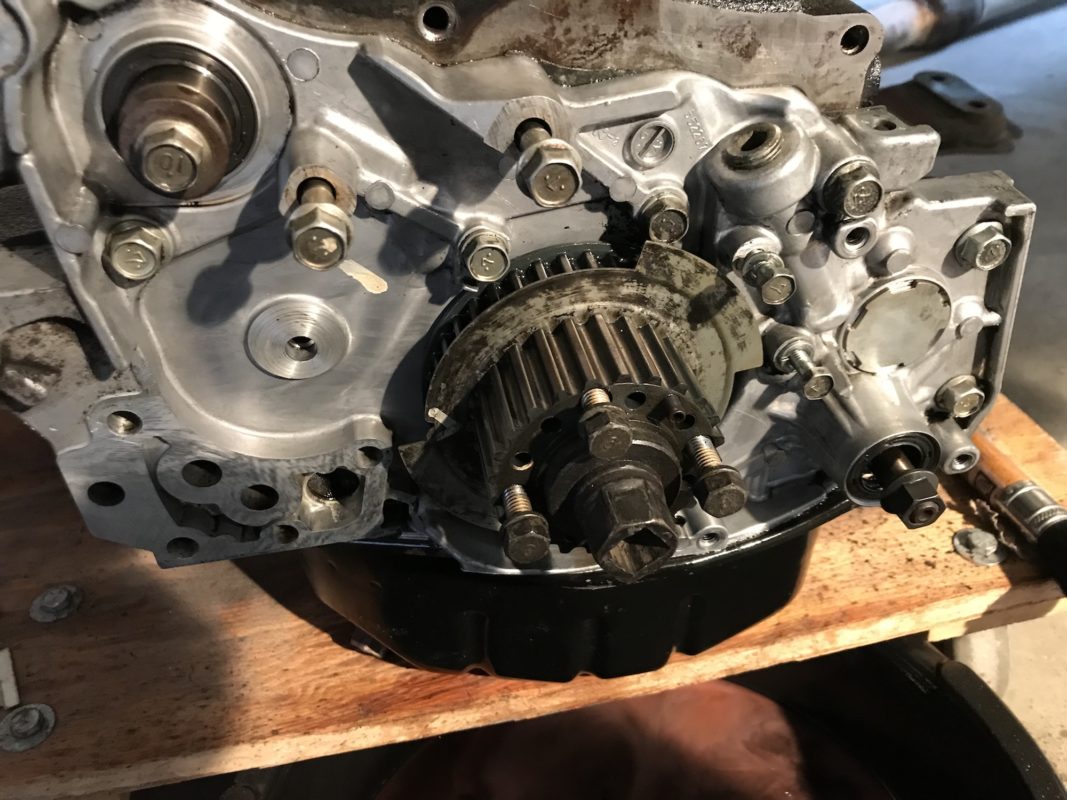
When we had pulled off the timing cover last week, we found ourselves with a bit of an oil leak! The main seal is the suspected culprit. After a bit of shopping on Amayama, we had new seals and gaskets on their way. However, much cleaning was left to be done.
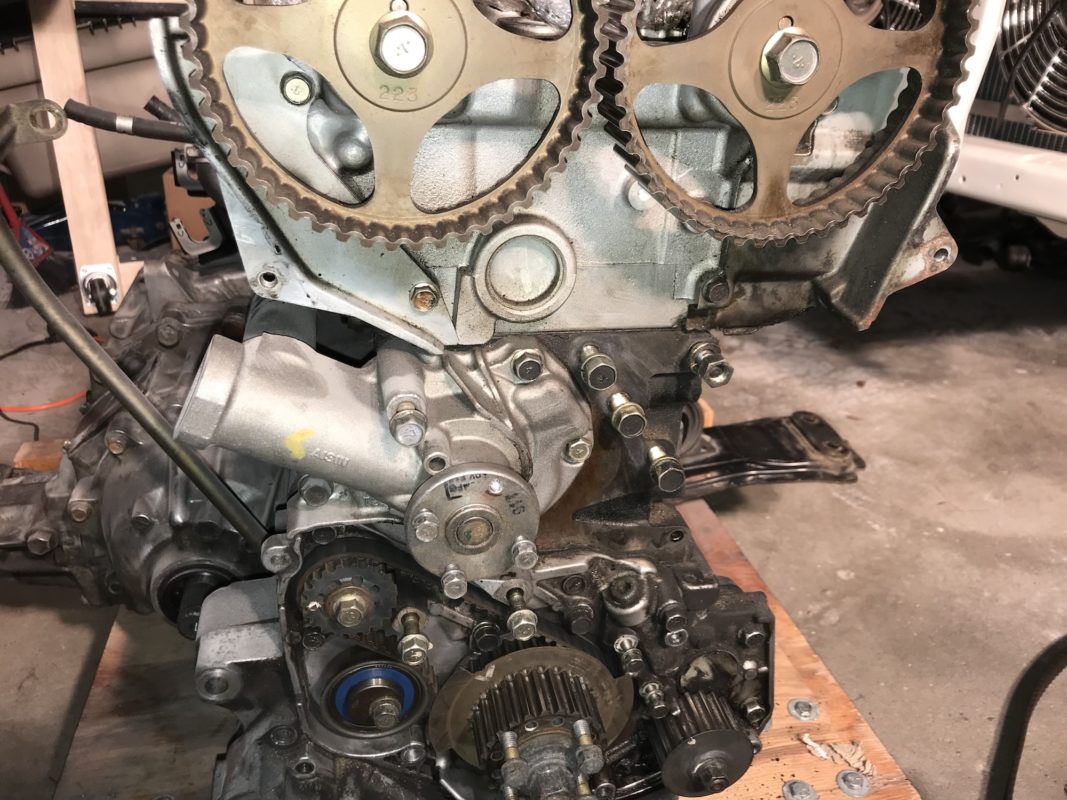
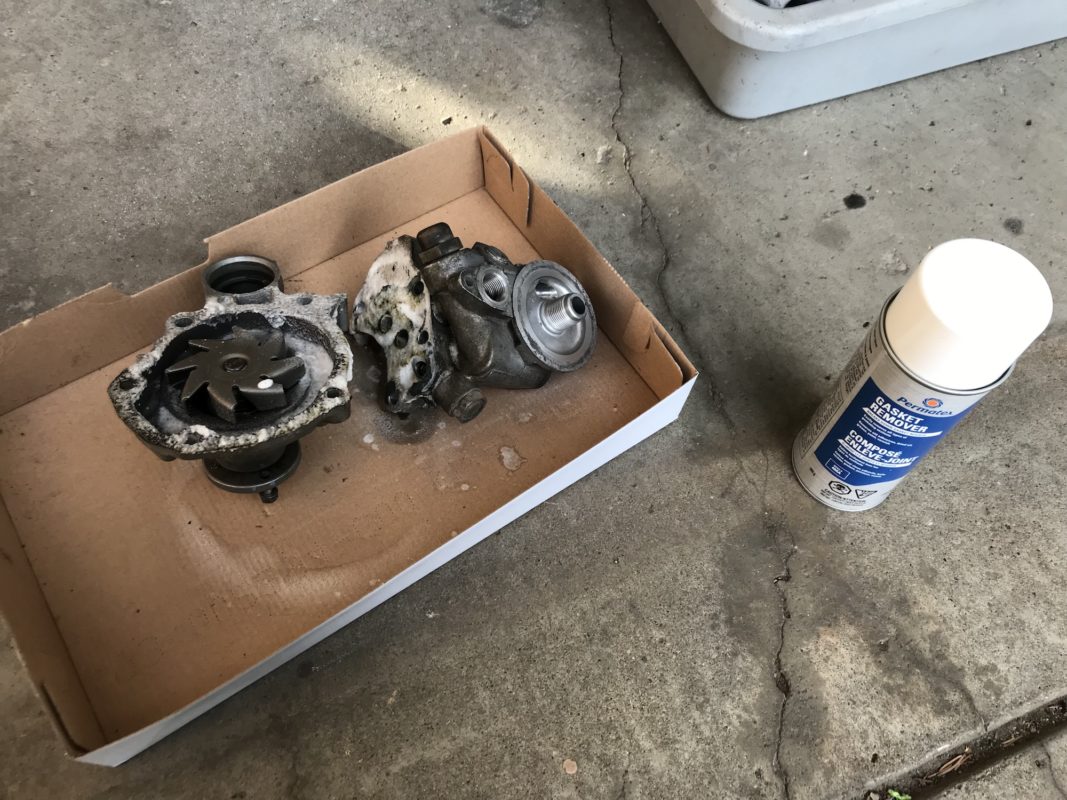
The day started with a trip to Canadian Tire to get some paint thinner and a plastic bin. The thinner was poured in to the bin, followed by an assortment of engine parts! The timing covers, balance shaft gears, oil filter housing, and a few other parts were dropped in and left to soak for several hours. Another hour of scrubbing and we were left with some relatively better looking parts.
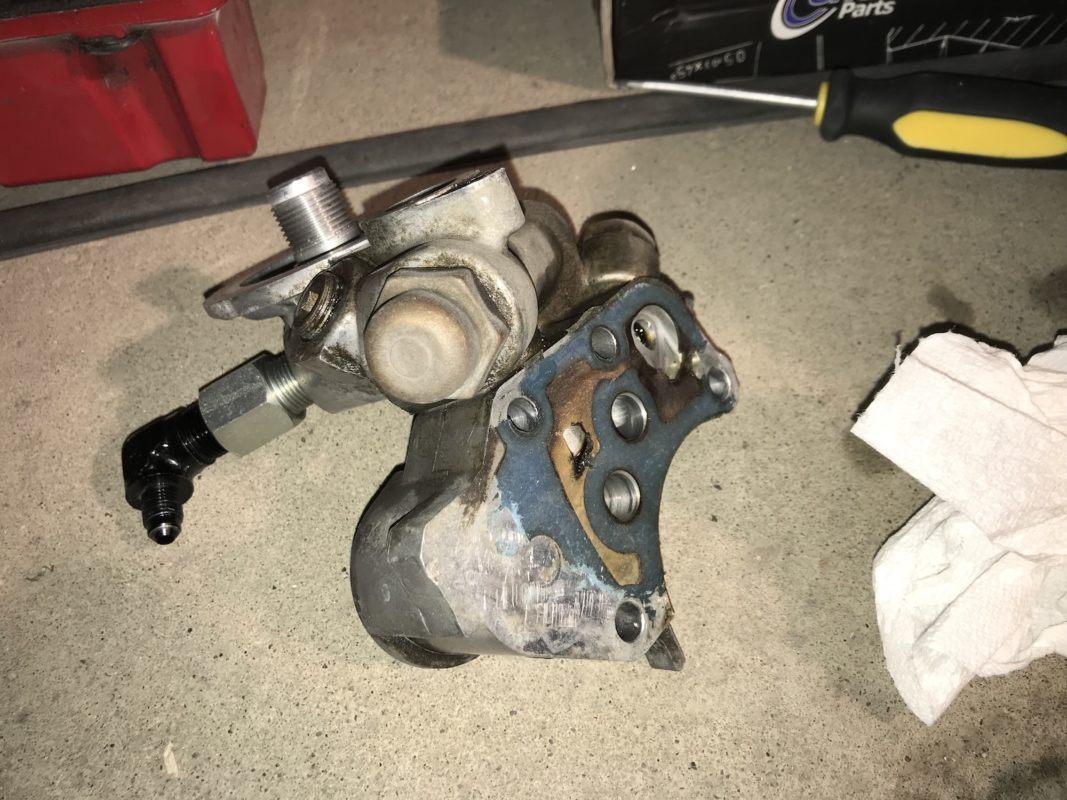
Engine degreaser was also used to attack the caked on oil on the oil pump. More scrubbing and lots of crap dripping off of the engine! These are the jobs we loath. But, there is a light at the end of the tunnel. It is always so satisfying to see cleaned up metal!
More work is yet to be done on the oil filter housing. The old gasket is caked on, and even a clean razor blade was unsuccessful at stripping it off. For fear of damaging the mating surface, we will be picking up some gasket remover tomorrow.
On the way to get the paint thinner, we also decided to stop at the metal supermarket. We were on the hunt for a piece of 20 gauge steel to finish off the rear firewall in the Evo. We finished cutting out the rear seat panel last week, so this piece is for the rear deck. Should get around to cutting it out in the next few days.
Lucky for us, the weather is looking to be great tomorrow (for winter in Calgary that is), so we’re hoping to finish off the cleaning on the oil pump, and prepare the engine for the new timing belt components.
Jan. 3, 2019
So we’re continuing on with the engine parts cleaning.
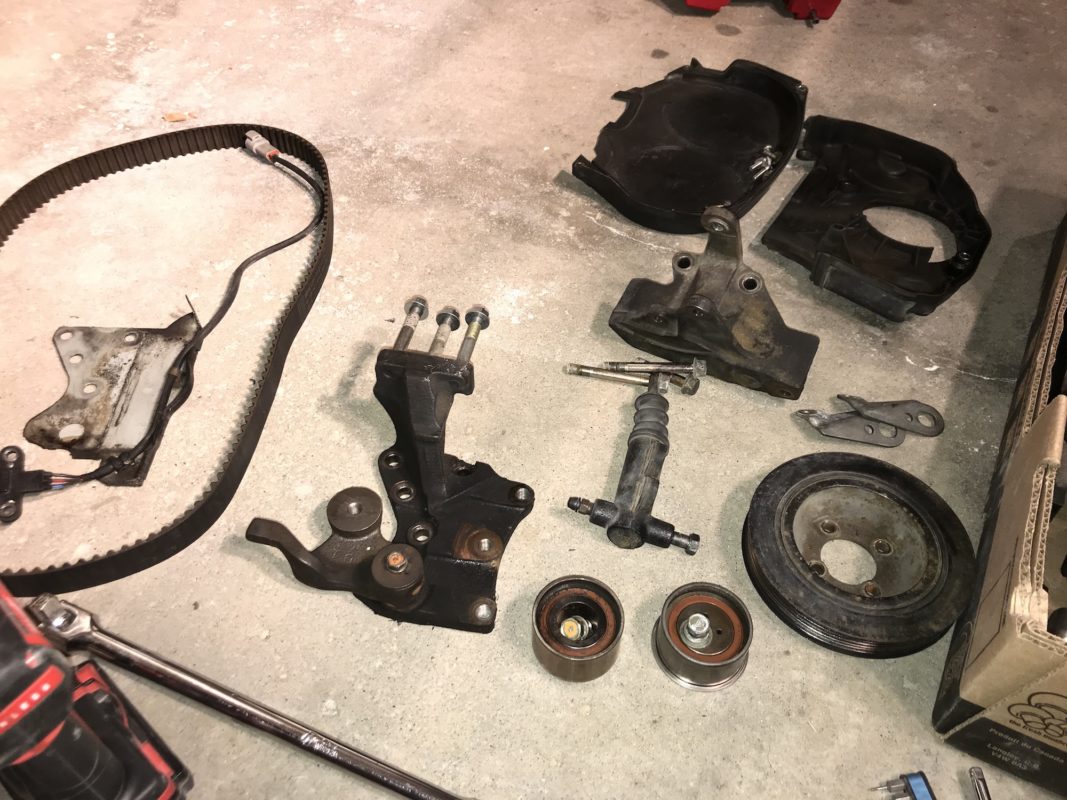
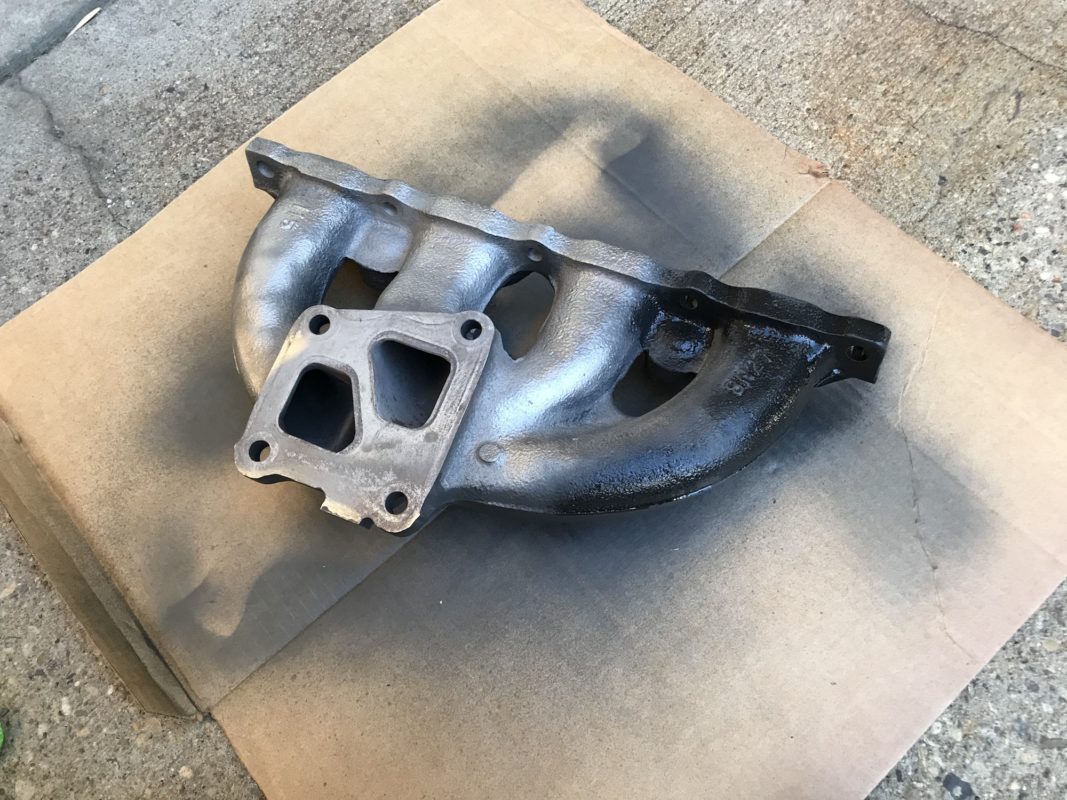
Today we visited a DIY sandblasting yard to clean up some more pieces from the vehicle. Using a garnet blasting booth, we cleaned up the exhaust manifold, the timing cover and guards, as well as a couple other brackets from the engine. There really is nothing more satisfying than watching metal turn from carbon and rust to shimmering goodness!
With those parts all cleaned up, we headed to Canadian Tire to pick up a couple of products; a can of spray on graphite, and some gasket remover. The gasket remover is self explanatory. We have old ass baked on gaskets on both the water pump and oil filter housing. A few applications of this, along with some very gentle scraping, did the trick.
Now why the can of spray on graphite? Let us explain! This is a budget project car, and as such, we have had to make some compromises along the way. We would love to buy a new exhaust manifold. Not only would it look awesome, but it would also see some HP gains. However, we don’t want to cheap out and go with one that will easily crack. Since we are planning on doing an overhaul of the engine next year, we decided the manifold would wait until then.
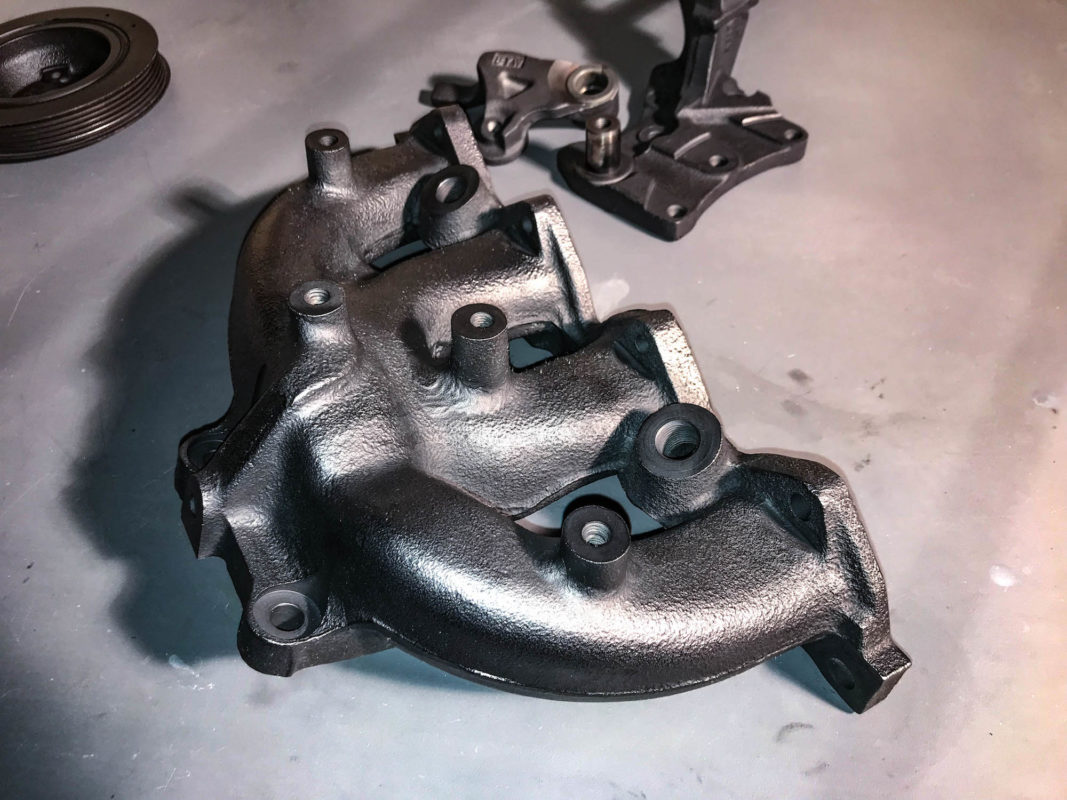
But back to that can of graphite! We may as well make the best of the situation, so we’re going to put a little effort into the stock manifold. The plan is to port and polish it in the next few weeks. As for the outside of it, the sandblasting really got the manifold looking good and shiny. But we know it won’t last once it sees some heat. Instead of painting it with a high temperature paint (which may just crack and peel within a few months), we decided to apply graphite to it. A couple layers of graphite (with almost instant drying), followed by a little buffing with a rag, and we soon had an awesome looking manifold. Check out the pictures! We’re not kidding. This stuff works really well. The best part is that graphite can withstand the high temperatures that the manifold will experience.
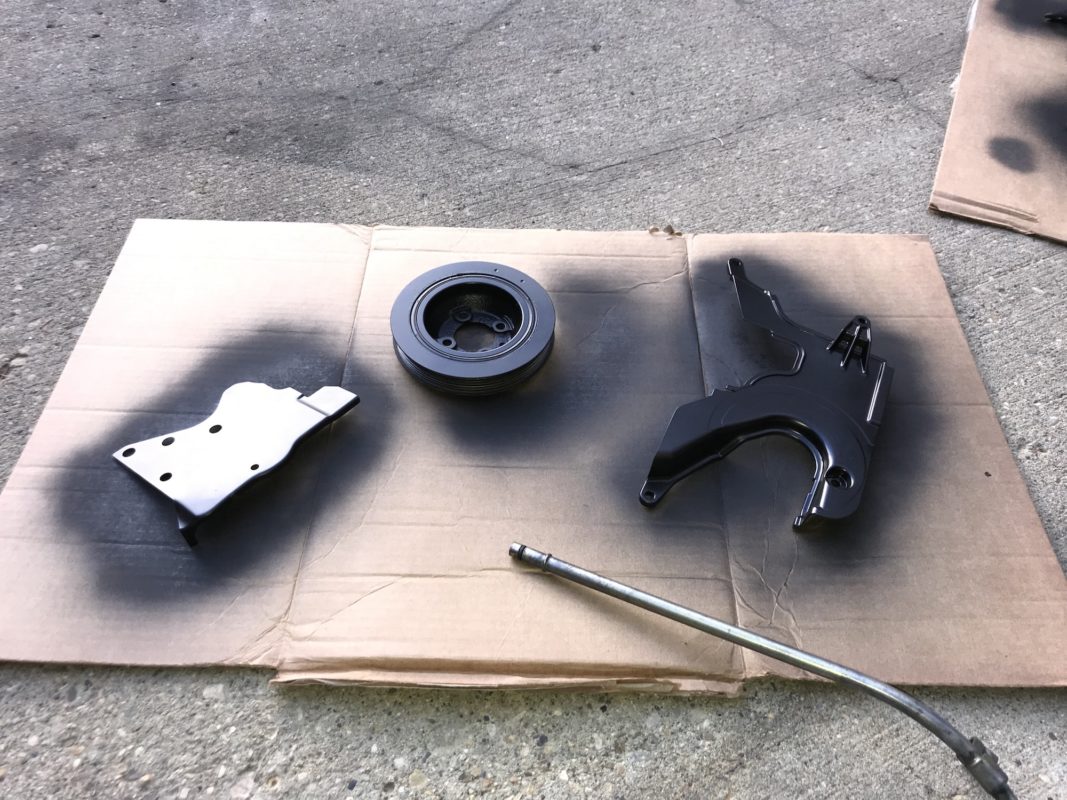
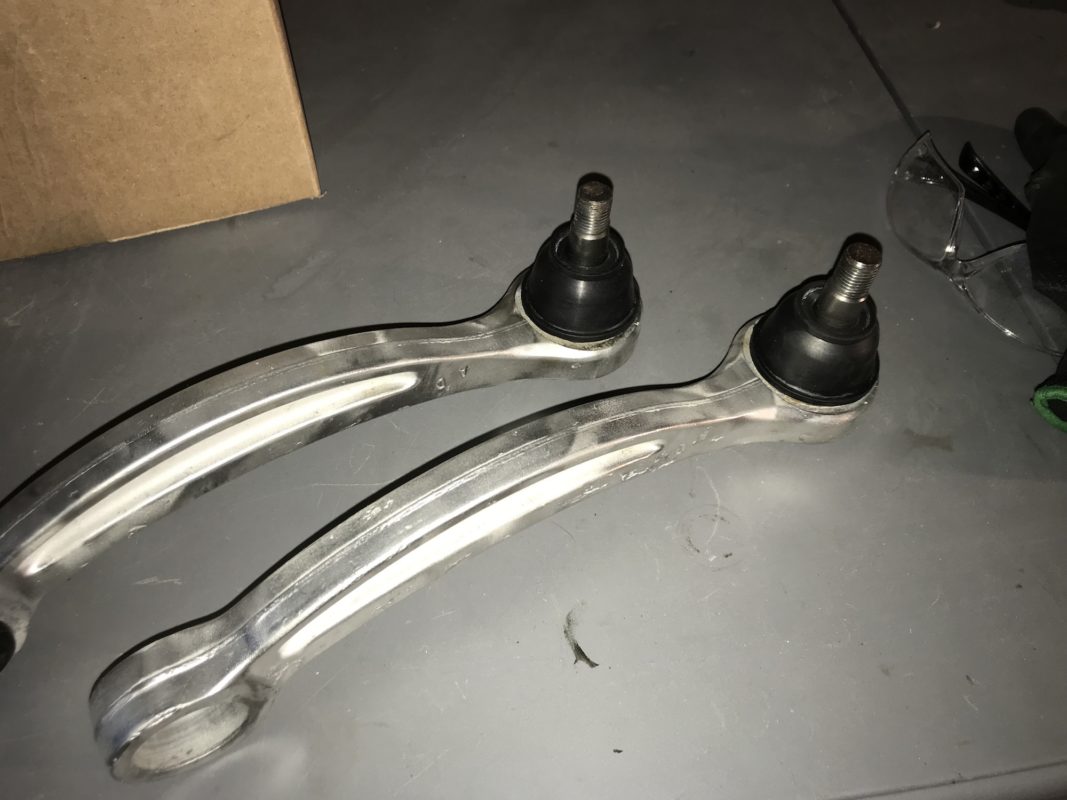
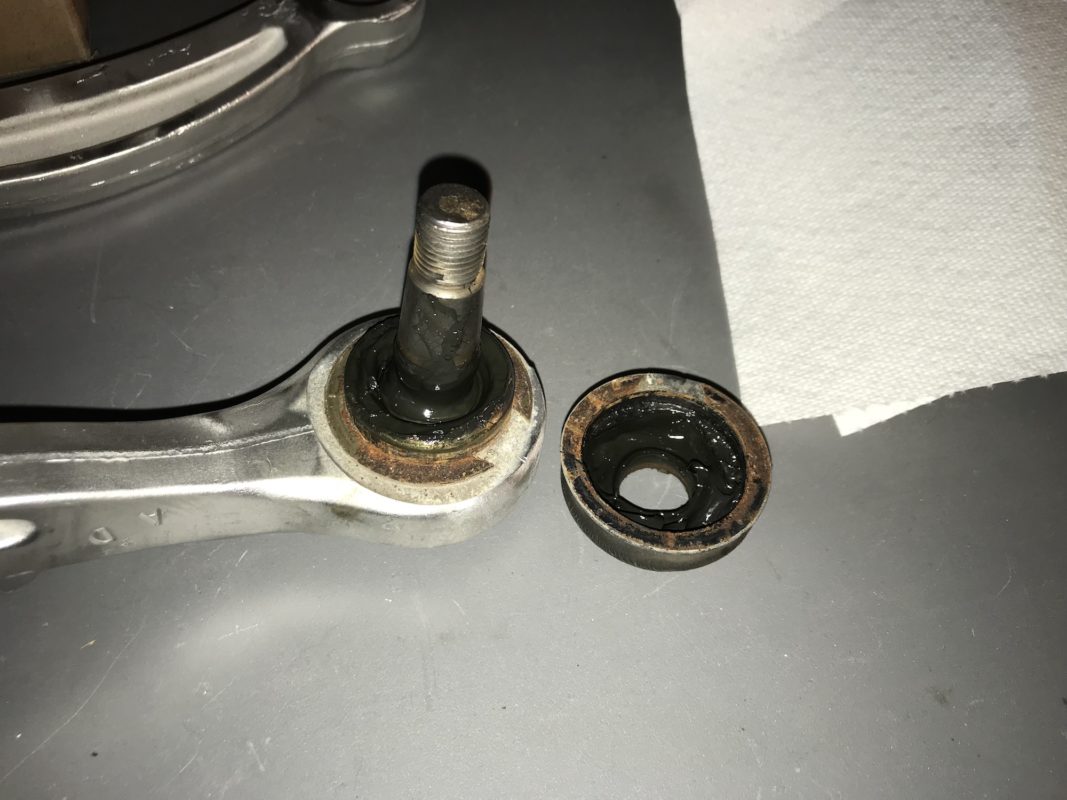
The rest of the day was spent finishing off the rear suspension on the Evo, along with some painting. The toe arms were given new dust boots and reinstalled on the vehicle. And the timing covers that were blasted earlier were given a couple coats of black Zero Rust paint (similar to POR-15). All in all, it was a very productive day.
Jan. 4, 2019
Today was a stark contrast to yesterday.
It felt like we were on top of the world yesterday when we accomplished so much. However, today was spent on only one task; removing the baffling from the valve cover.
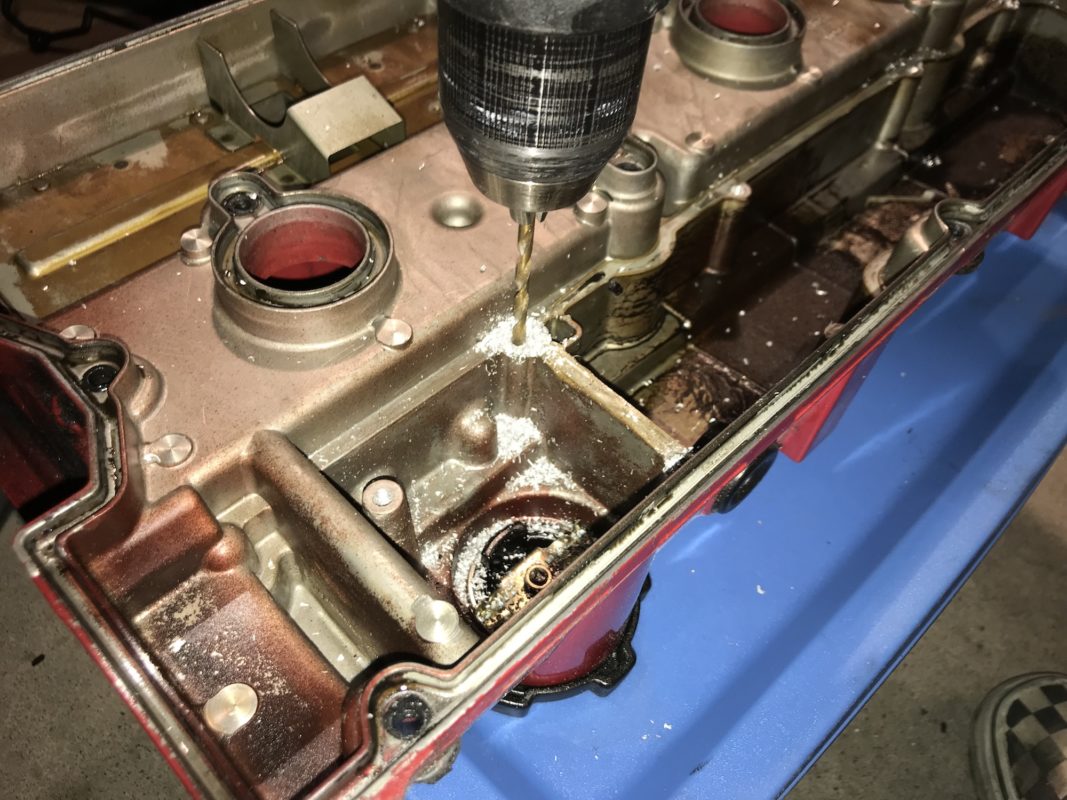
Since this car is being built for the track, it is expecting to see quite a bit of abuse. The engine will be hammered on, and so some supporting mods are required. Today we started work on the valve cover, making way for some larger AN fittings to help the engine breathe. Drilling these larger holes will leave a lot of metal inside the baffling of the valve cover, so to avoid any potential issues, we are doing it the correct way. The baffling is coming out, and the valve cover will be thoroughly cleaned afterwards.
The first step was to drill out the pop rivets holding the baffling in place. After those were out, the baffling was removed. The next step was to drill out holes for reattaching the baffling. After this was complete, we tapped the holes for a M5 x 0.80 bolt. This process is very slow as you don’t want to mess up any of the holes. Trust us, we know! One of the taps did not turn out the way we wanted, but we will likely be using some JB weld to ensure that these bolts will never back out!
Like we said, that’s all we got done today! It takes a lot of time and patience to drill out all of these holes. The next step with the valve cover will be to drill out larger holes on the sides for the breather hoses. These will then be tapped and fitted with AN fittings. The breather hoses are going to be attached to two Mishimoto baffled oil catch cans. And to top it all off, the valve cover is going to be sent off for powder coating.
Jan. 5, 2019
Seriously, we did not touch the car today.
I mean, at some point we all need a break from these projects. That and the fact that life can get in the way. But it is worth noting, even though we didn’t touch the car, we did spend a bit of time organizing the workspace. There is nothing worse than having a cluttered and unorganized garage to work in.
It happens to the best of us. You start on to a project and get so carried away that soon enough you have no clue where any of your tools are. Yesterday we were so in to the work on the valve cover, that by the end of it, the garage was a war zone of metal shavings and puddles of degreaser.
So with a cleaner, more organized garage, the build continues on. Keep checking back for our daily updates as the build starts to come together.
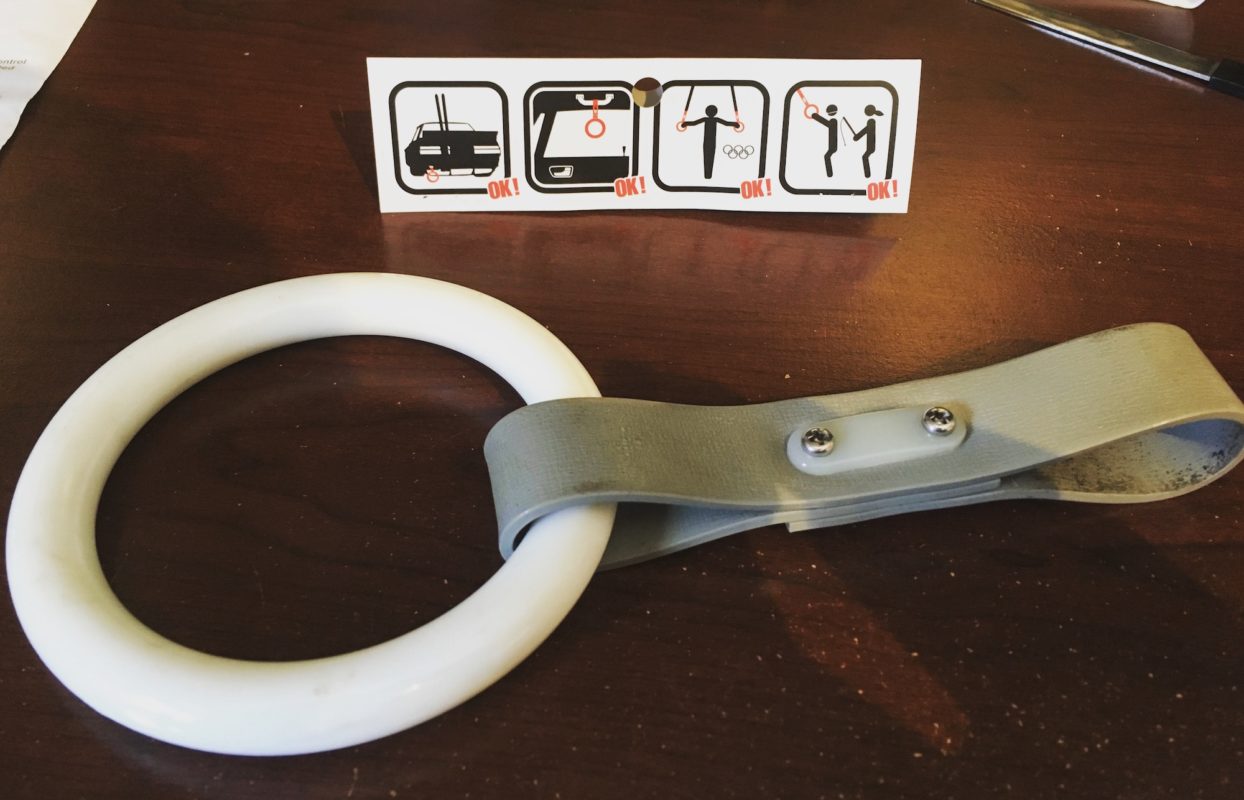
And since a post isn’t complete without a picture, we have a little entertainment for you! Ordered this genuine tsurikawa last year from jdmtsurikawa.com, and it came with some of the best instructions we’ve ever seen! Now where to hang it from?