Just like losing a few pounds will improve your chinups, your car’s lap time will benefit from this diet.
The second installment of our “Automotive Weight Loss” series, today we look at your electronics!
We’re continuing on with our budget time attack Evo 6 build, and in the interest of going faster, we’re going to be shedding even more weight. At one point this car was a great daily driver. It was fast, reliable, and had a whole bunch of fun gadgets in it. This included an awesome Sony XAV-70BT touch screen DVD player, a custom subwoofer, upgraded speakers, and a Playstation 2 in the glovebox. It made for quite an enjoyable experience; parking late at night and playing Gran Turismo on the driveway! Those days are now gone.
Maybe the next daily driver can live up to the entertainment reputation, but this is going to be a track car now, so it’s time to get serious. In this next part of The Automotive Weight Loss Series, we’re going to be removing all the sound and entertainment items from the car, and we will be making a custom gauge panel for where the radio used to sit.
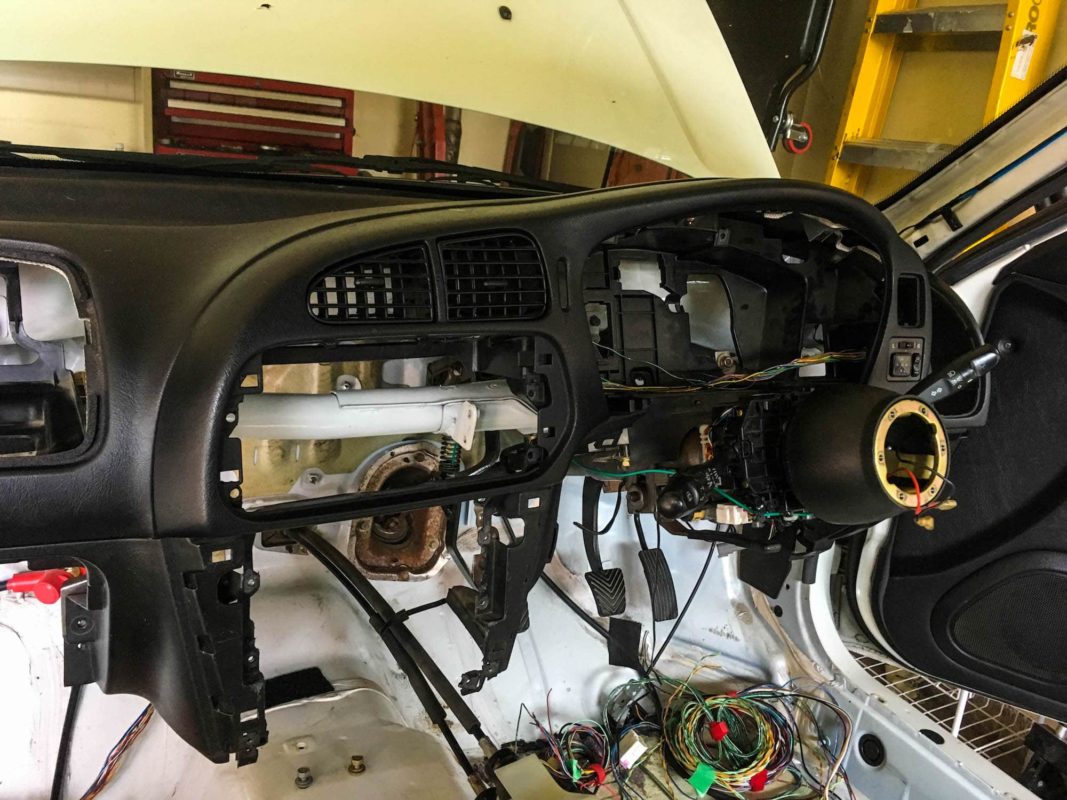
To start this next round of pound shedding madness, we begin by removing the radio. Now our car already has the dash completely removed as we are preparing the inside for a roll cage and repaint. But for those of you who haven’t completely gutted the car yet, start by removing the trim piece around the radio. It should simply pop right off; no screws hiding anywhere. Now you will find some screws that mount the radio (or whatever aftermarket unit you have) to the dash. Unscrew, pull out the unit, and disconnect it from the wiring harness.
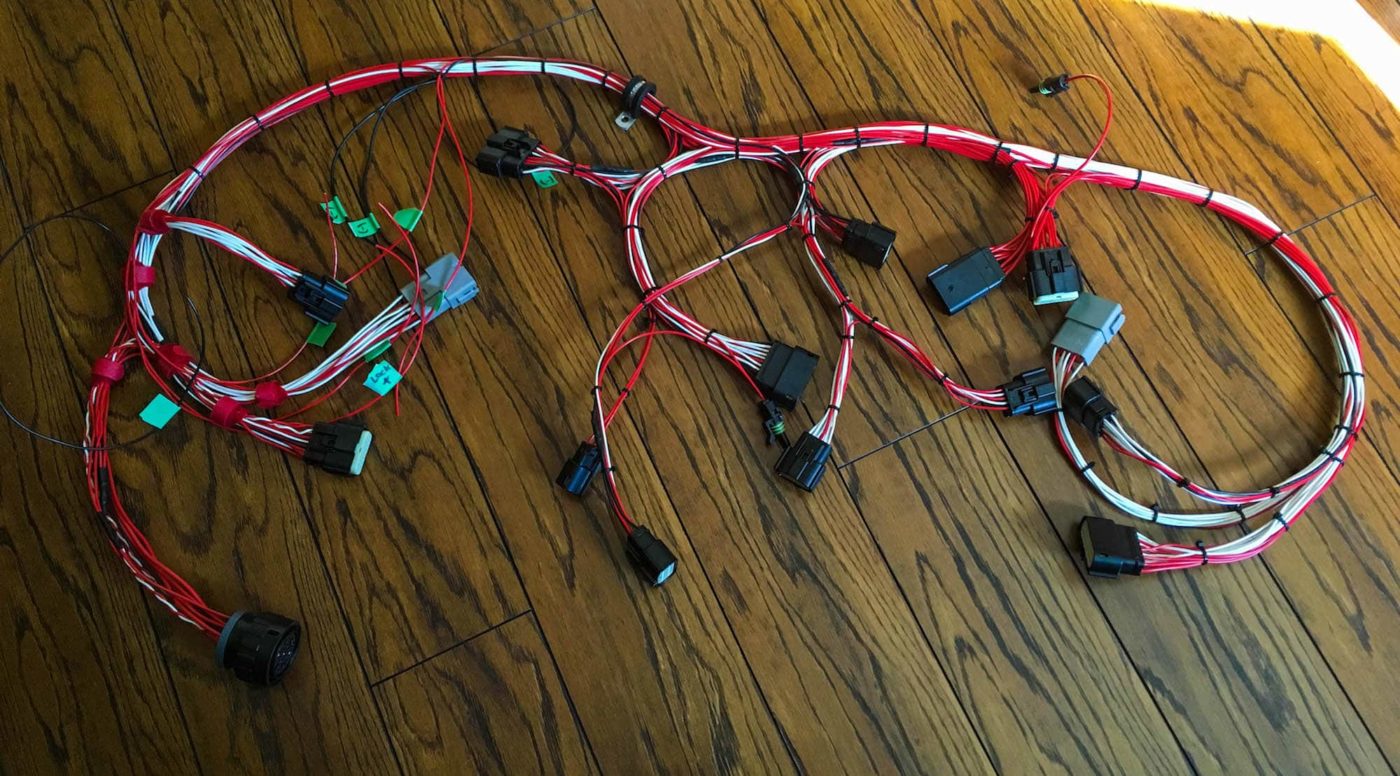
Now if you’re crazy like us, you’ve already removed every wire from the car and started to make a new harness! In that case, you’re pretty much done with this step. But for the rest of you who haven’t descended into wiring madness, you can now decide if you want to start removing wires from the vehicle. There are quite a few wires involved in the radio and sound system, so it is completely up to you with how complex you want to go.
In order to remove the majority of the wires, you will need to open up the dash harness and carefully follow the wiring diagrams for your car. This involves the temporary removal of some of the HVAC system, and even the dash if you want to completely remove everything. But the weight savings here are going to be negligible compared to everything else, so we recommend leaving it alone. Leaving the wires there also means you haven’t permanently altered the vehicle, and can always go back and reinstall the sound system. If you haven’t yet, check out our article on modifying your car without compromising its resale value.
Once you’ve finished pulling the radio, it’s time to move onto the speakers. If you followed our first weight loss series article, you would have seen the rear door being gutted. Well, it’s pretty much the same process for the front. Remove some screws, slowly pop the door card off, and disconnect the wire connector from the window controls. With the door card out, you can now unscrew the speaker from the door. Two wires attach to the back of the speaker. There! Front doors done.
It’s time to move on to the rear speakers. This may be the easiest part of the whole job. The speaker covers are held in with plastic tabs. Go to the trunk and locate the backsides of the speakers. You will see the 4 tabs that hold down each of the speaker covers. Press in the sides of the tabs and pop off the covers. Then, all that’s left is to unscrew the speakers from the shelf. And just like that, your radio and sound system is gone.
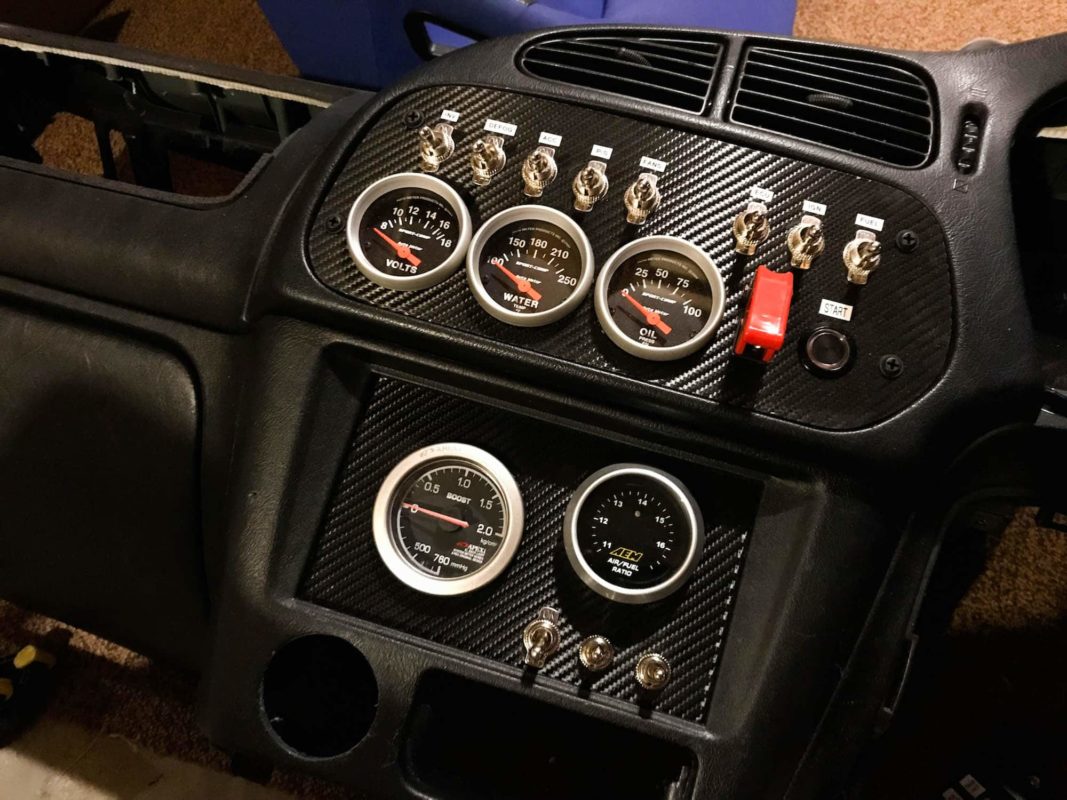
Now comes the fun part. You’ve removed your radio and there is a gaping hole in your center console. What to do, what to do? Well, may we suggest adding something fun! Our car is going to be a full out track car, and with it being completely rewired we have the perfect opportunity to add some gauges and switches.
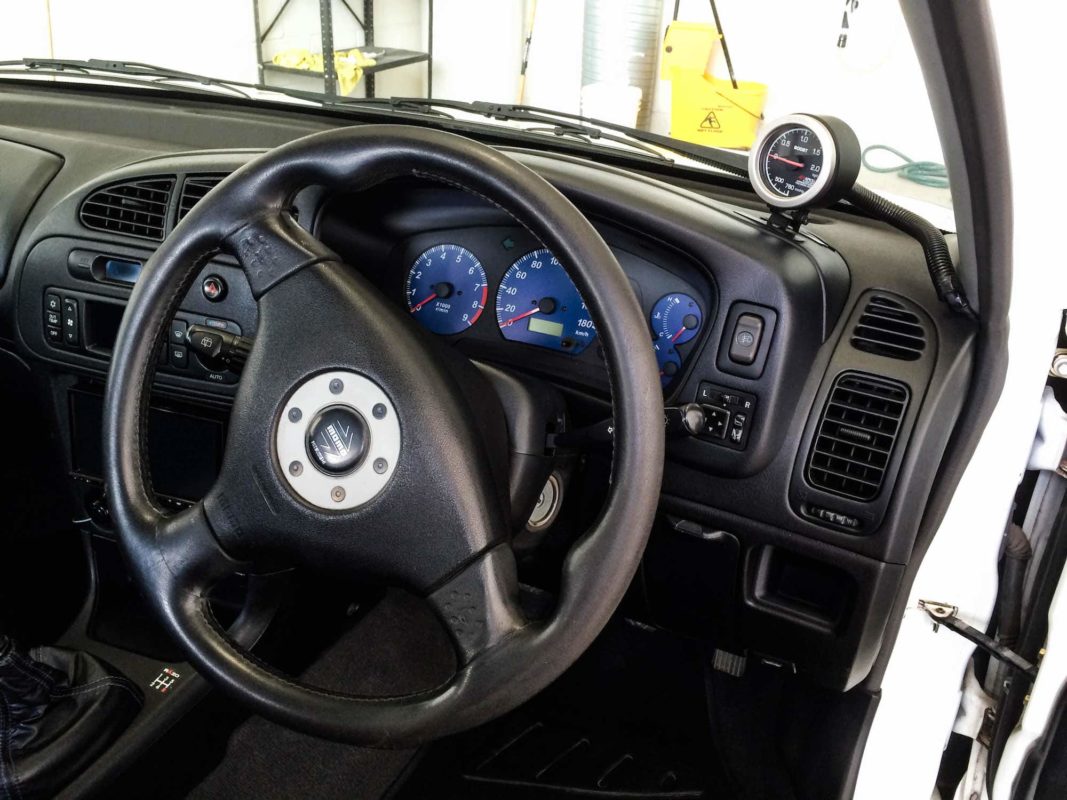
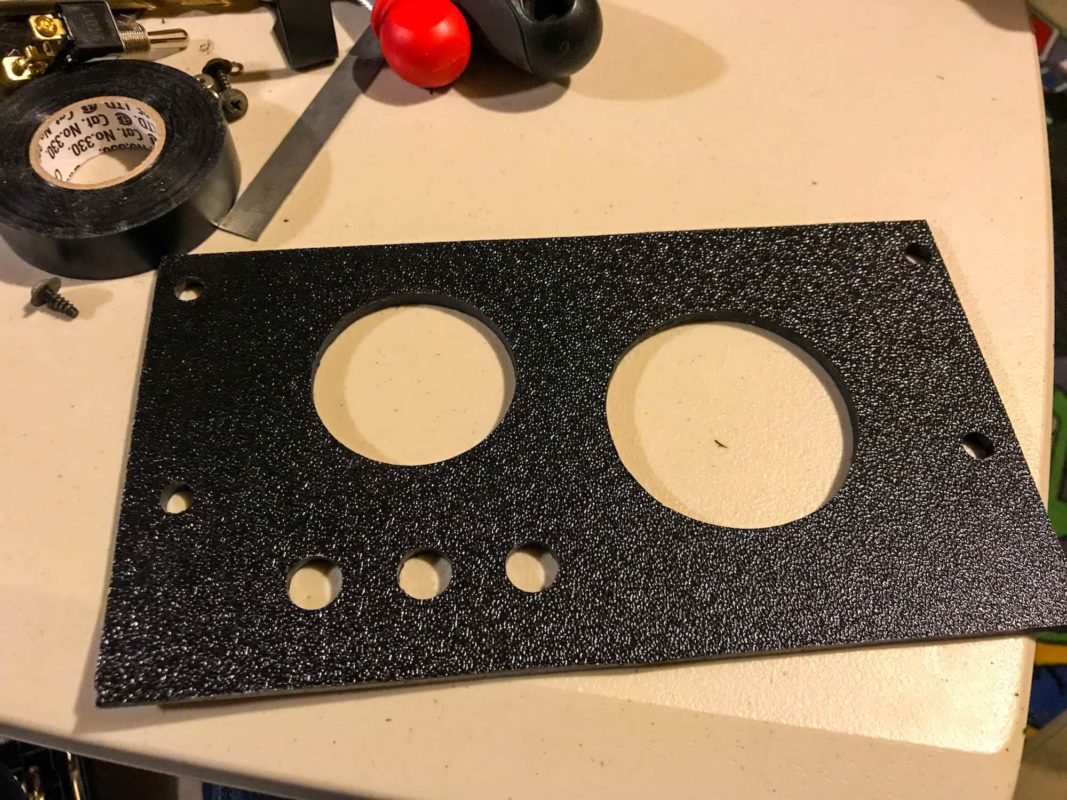
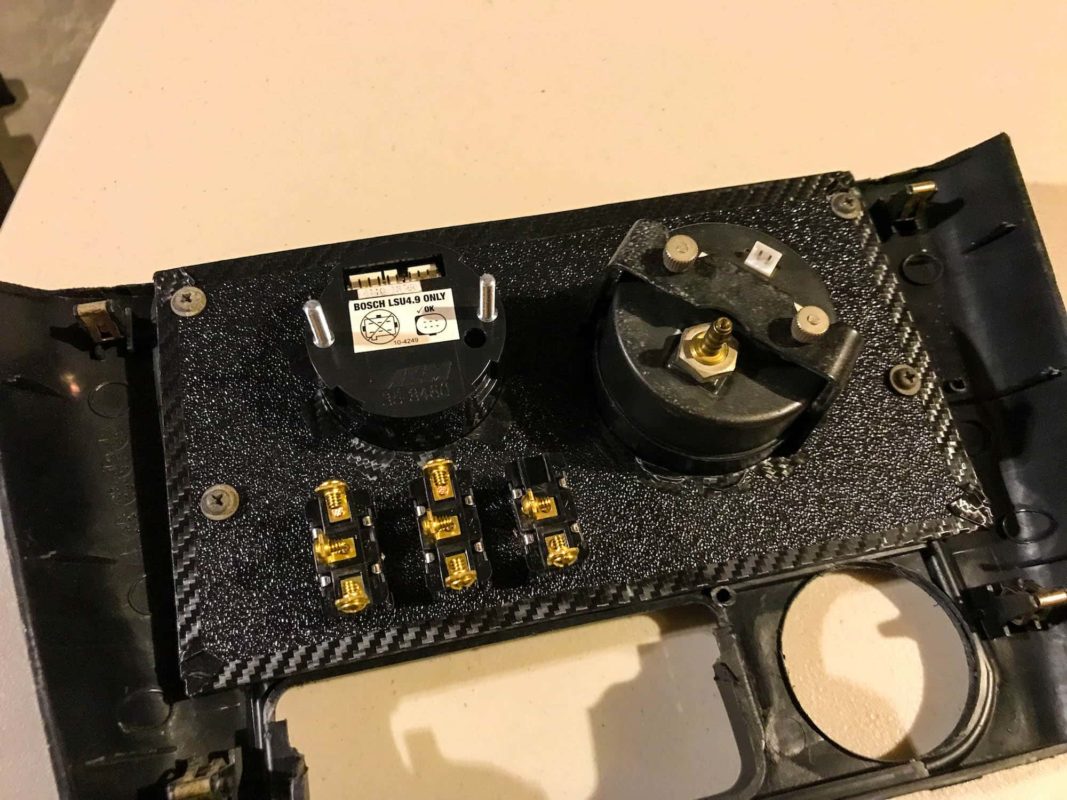
We were getting tired of having our boost gauge mounted on top of the dash. We decided we wanted to move it down to where the radio had lived. We also figured we would mount the wideband gauge beside it. This required a custom panel to be made.
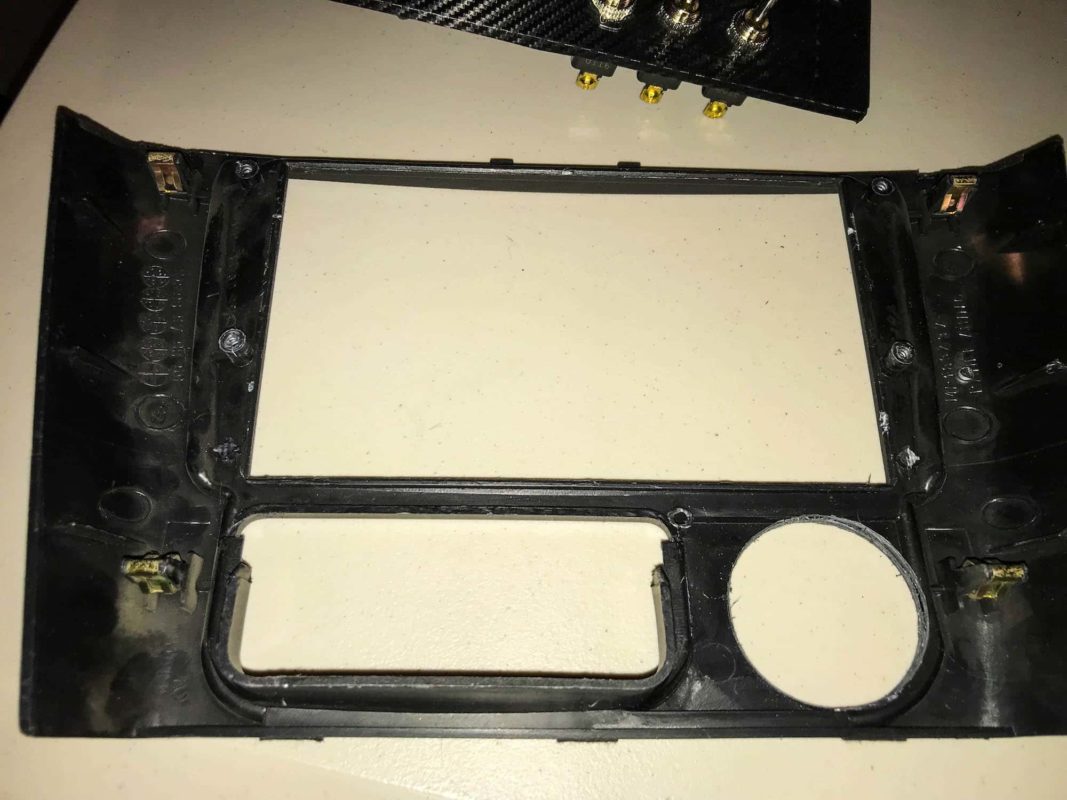
To get started with this custom panel you will need to take some measurements from the radio trim piece. On the back of it you will find 4 extruded holes. We will use these to mount our custom panel. Measure the distances between them all, and start to sketch up an idea of what you want your panel to look like. For us, we want the panel to extend slightly past each of these holes, so as to ensure it is properly mounted. We also wanted it to have a hole for the boost gauge, another for the wideband meter, and 3 smaller holes for some toggle switches.
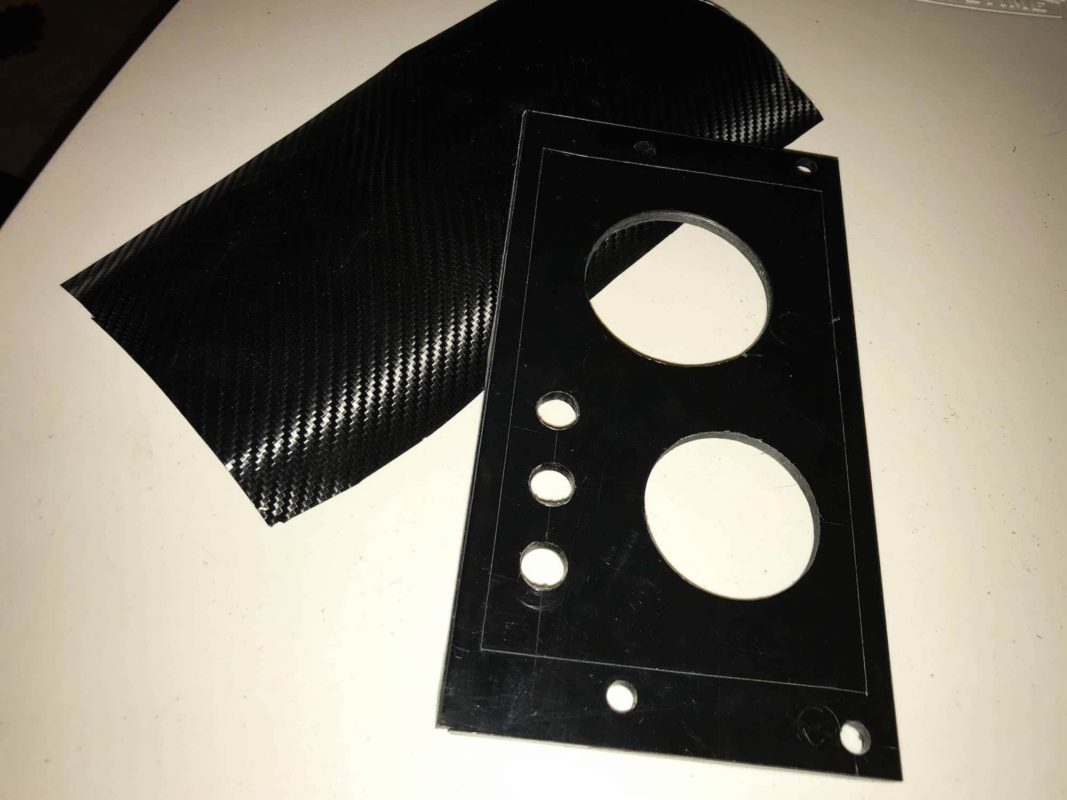
With a sketch all done up, you can start to etch out the lines on a piece of ABS plastic. A utility knife and a straight edge are very useful for this. The sheet we used is ¼ inch ABS, textured on one side. You can decide what side you want facing out, and mirror your template accordingly. For us, we wanted the flat side facing out as we were also going to wrap it with a piece of vinyl.
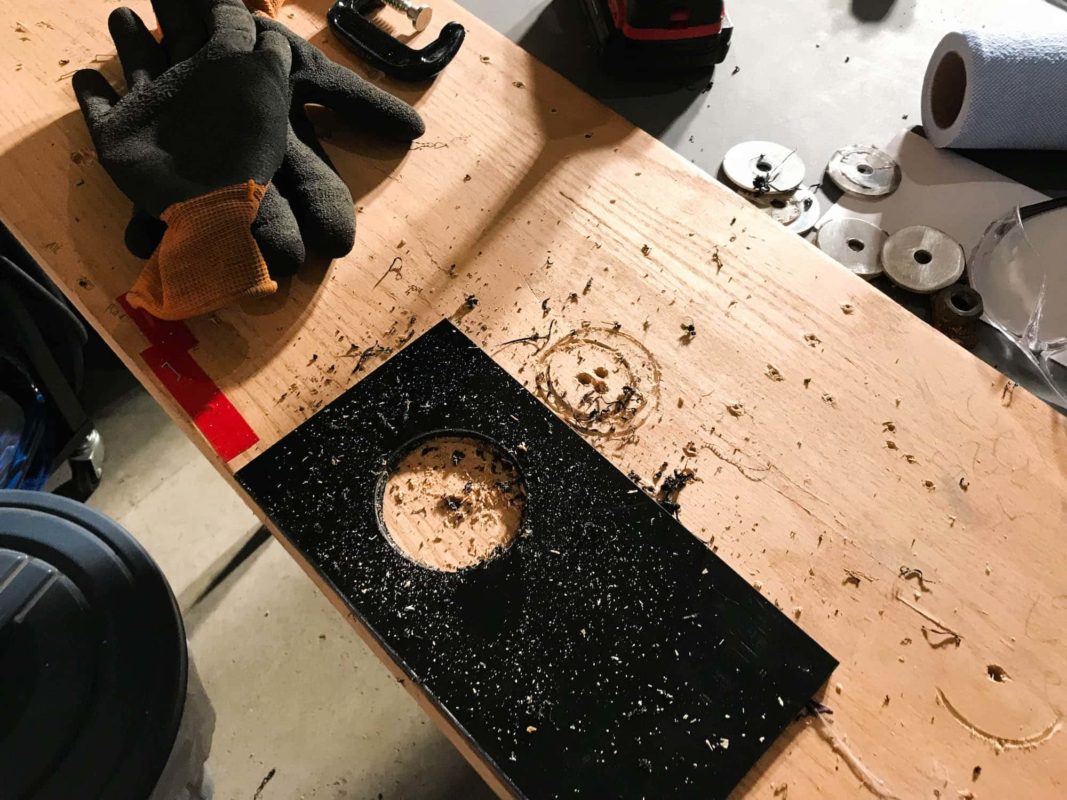
Etch the outside lines of the plastic several times to get a nice deep line. Then, using a bench vise, clamp the sheet and break off the excess plastic. Next, you can drill the holes out for what ever gauges and switches you want. Hole saws come in handy here, as trying to cut out a hole with a utility knife will likely yield poor results.
Once you have the holes all cut out and the edges all cleaned up (a little sanding should do the trick), you’re almost ready to install the panel. Now if you’ve decided to wrap the piece with vinyl, now’s the time.
Installing the piece is pretty straight forward. Fit it over the holes and secure it with 4 screws. It’s that simple, and now you have an awesome addition to your interior. Mount the trim piece back on to the dash, and marvel in the awesomeness of DIY.
And that’s it for now! Keep checking back for more updates, and let us know what you think in the comments below.

