
Got rid of your back seats (and maybe the spare wheel well) and now you need to finish the look? Maybe it’s time for a custom rear firewall!
For this installment of the install series, we will be showing you how to install a custom rear firewall and bracing to keep your seatless back seat neat and your trunk area flat and solid.
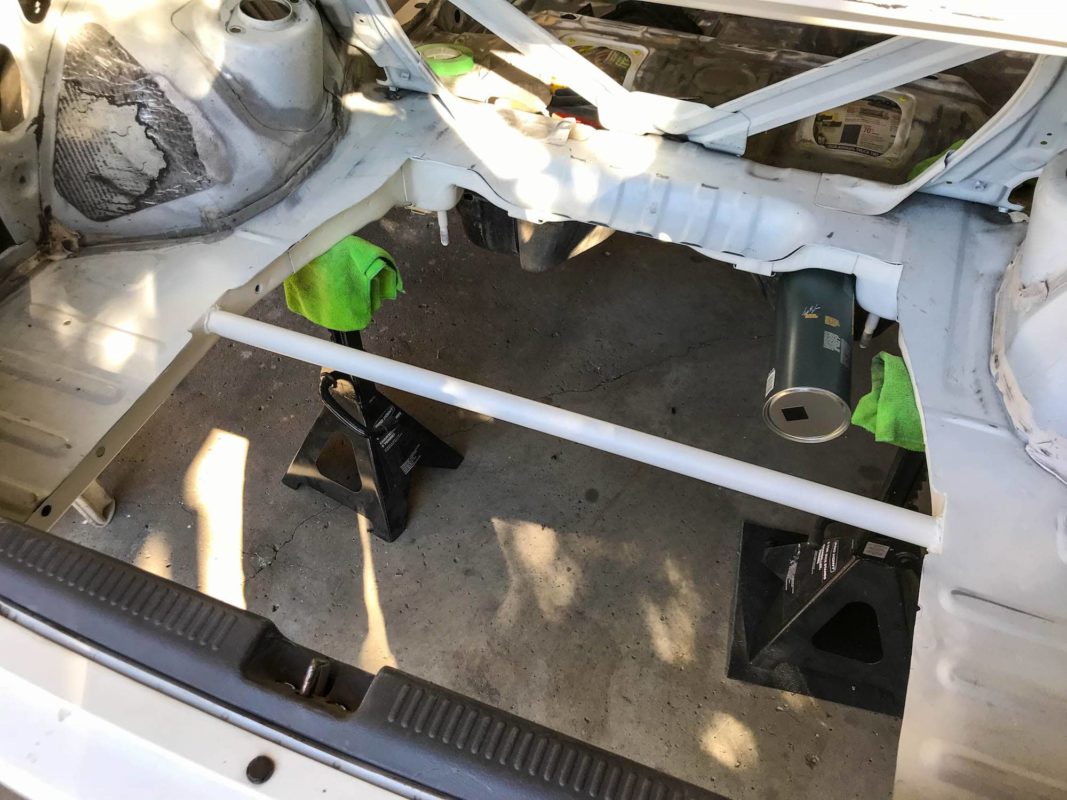
Last summer, the Budget Time Attack Evo underwent a full underside restoration. If you haven’t yet seen the work done on it, check it out here. During the process, we found that a substantial amount of rust was located on the spare wheel well. Instead of just cleaning it off like the rest of the underside, we instead decided to cut out the entire wheel well. The long-term goal for the car is to mount a fuel cell in the trunk, so we figured a flat trunk would be easier to work with. We started the process by cutting out the well and cleaning the exposed edges.
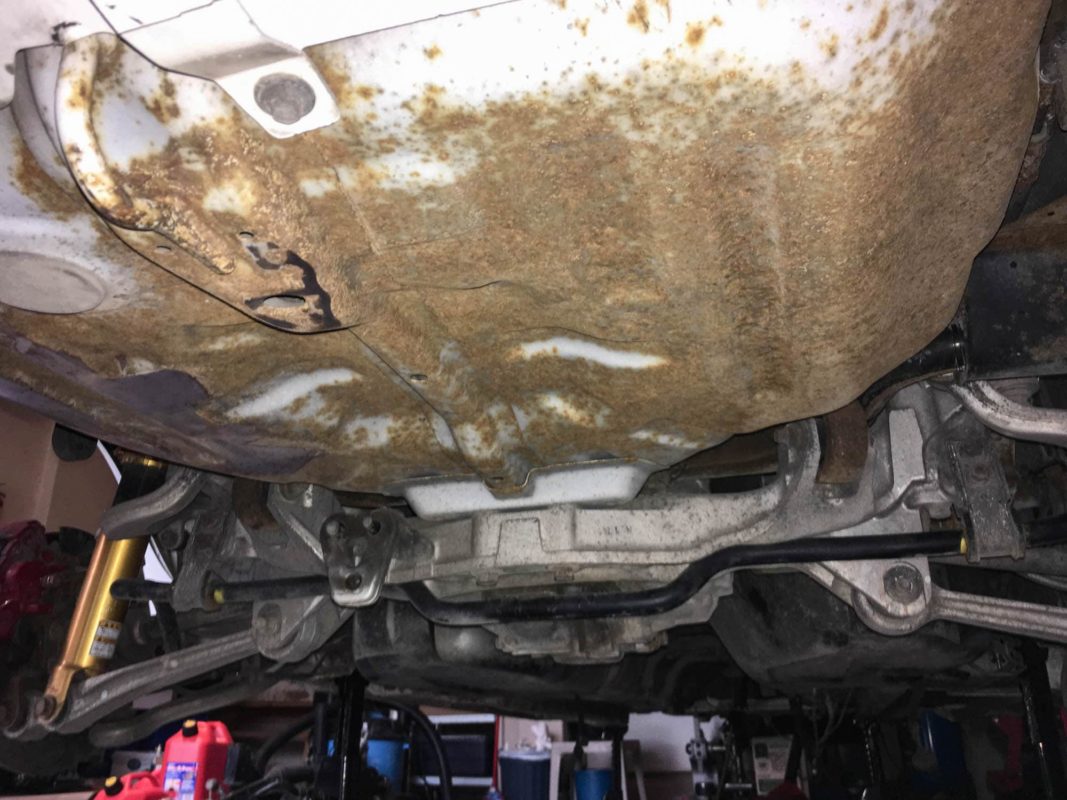
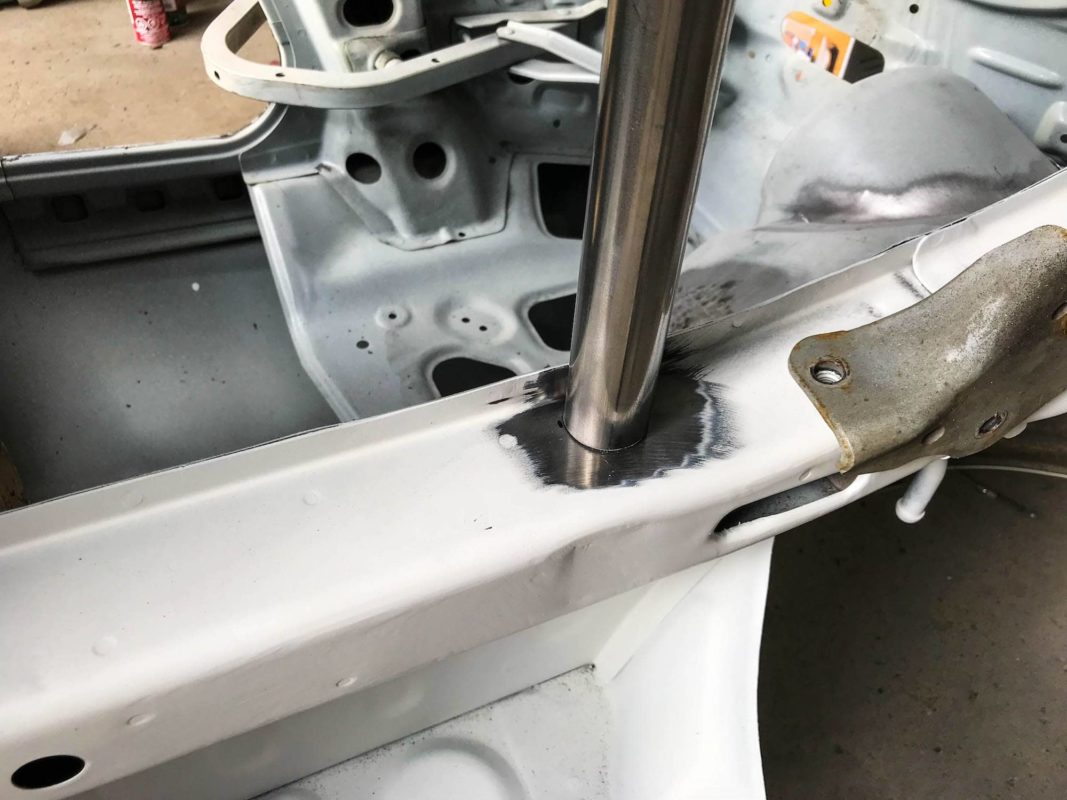
With the well cut out, the first thing we needed to do was weld in a steel tube to help brace the rear. We prepared the rear frame rails for welding, cut the steel tube to length, and mig welded it into place. The welding ended up being an incredible pain in the ass as we had a lot of porosity in the welds. After several frustrating attempts we started to troubleshoot the issues. Everything on the machine was double checked, the wire changed, the tips checked… we ensured everything was good to go. And yet, we still had porosity. We finally decided to take the gas cylinder back to the supplier as a last resort. We explained the issue to the shop, who told us it was most likely an issue with our setup. But, they agreed to quickly check the ratio in the cylinder, and sure enough, it turned out to be an issue with the gas they had supplied. They quickly replaced the tank and we were back on our way. With the new gas, the weld was easily finished, and we had our rear brace in place. A coating of paint was applied to match the underside of the car.

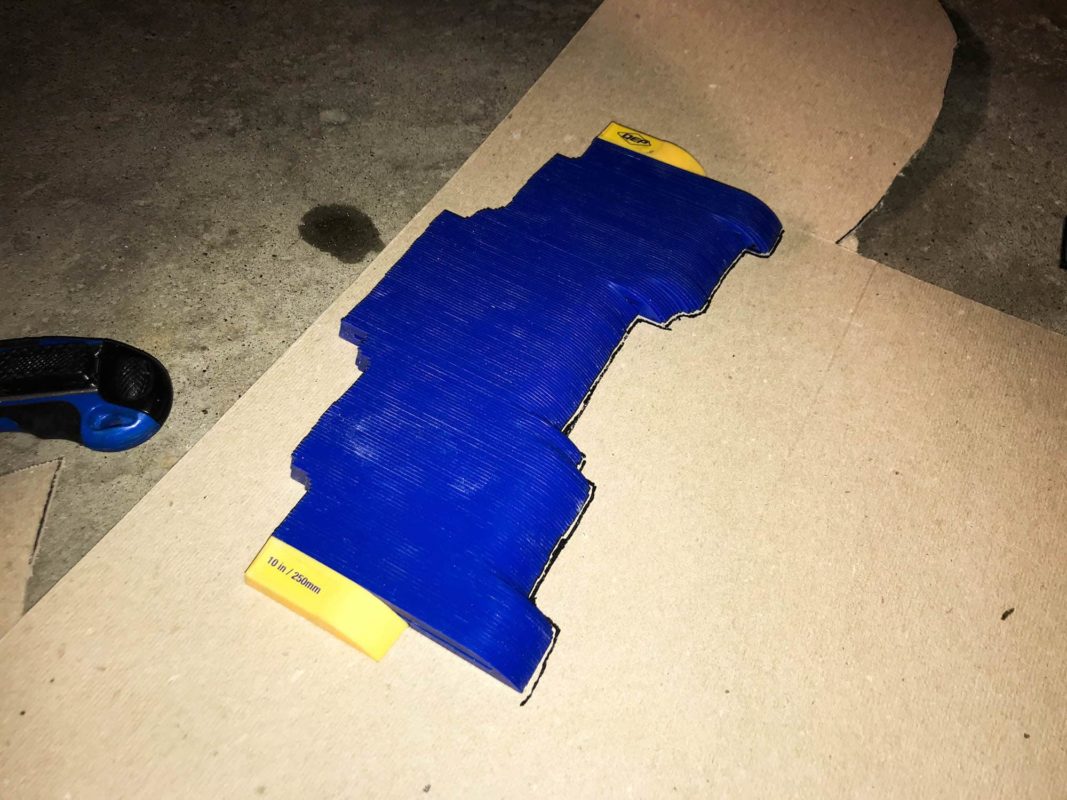
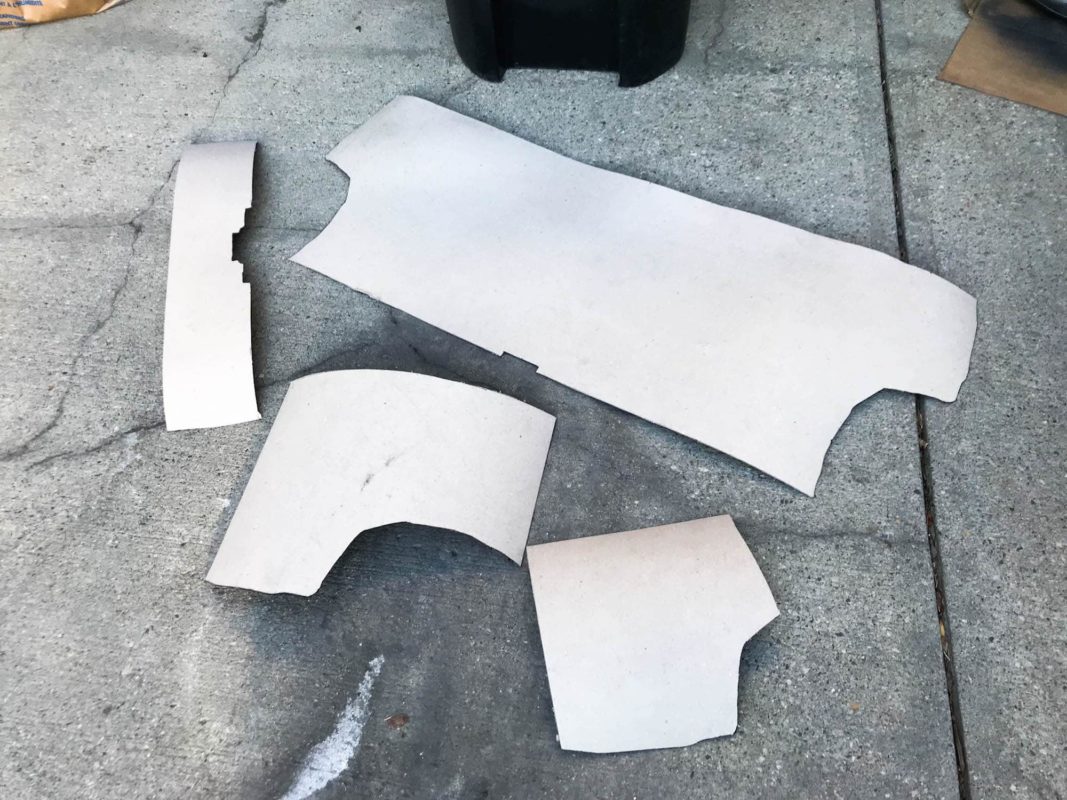
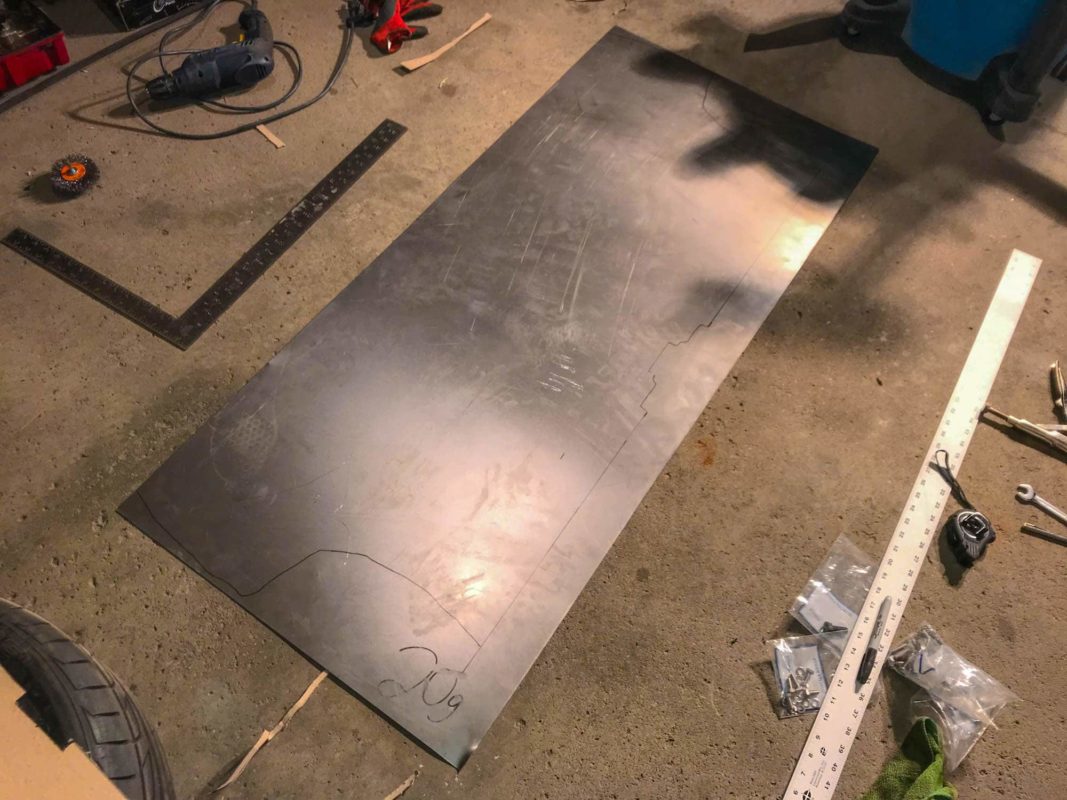
With that all done, the next step was to start fabricating a custom rear firewall. Obviously, the rear seats were never going back into the car, so we started to figure out the shape of the panel we needed to make. The top of it wasn’t too hard to figure out. A tape measure was all that was needed. But for the sides, we needed to have the custom rear firewall conform to the shape of the rear wheel wells. If you are planning on attempting this, place a piece of flat metal next to the wheel well, so as to create a surface level with where the panel will sit. Then, using a contour gauge, get the shape of the wheel well and transfer it over to a piece of cardboard. You may need to make several transfers to the cardboard to obtain the full shape. Cut out the cardboard, and check to make sure that it fits the shape of the well. Do the same for the bottom of the panel to make sure it fits with the floor plan of the car. Finally, transfer everything over to a larger piece of cardboard, and cut it out to check the fit.
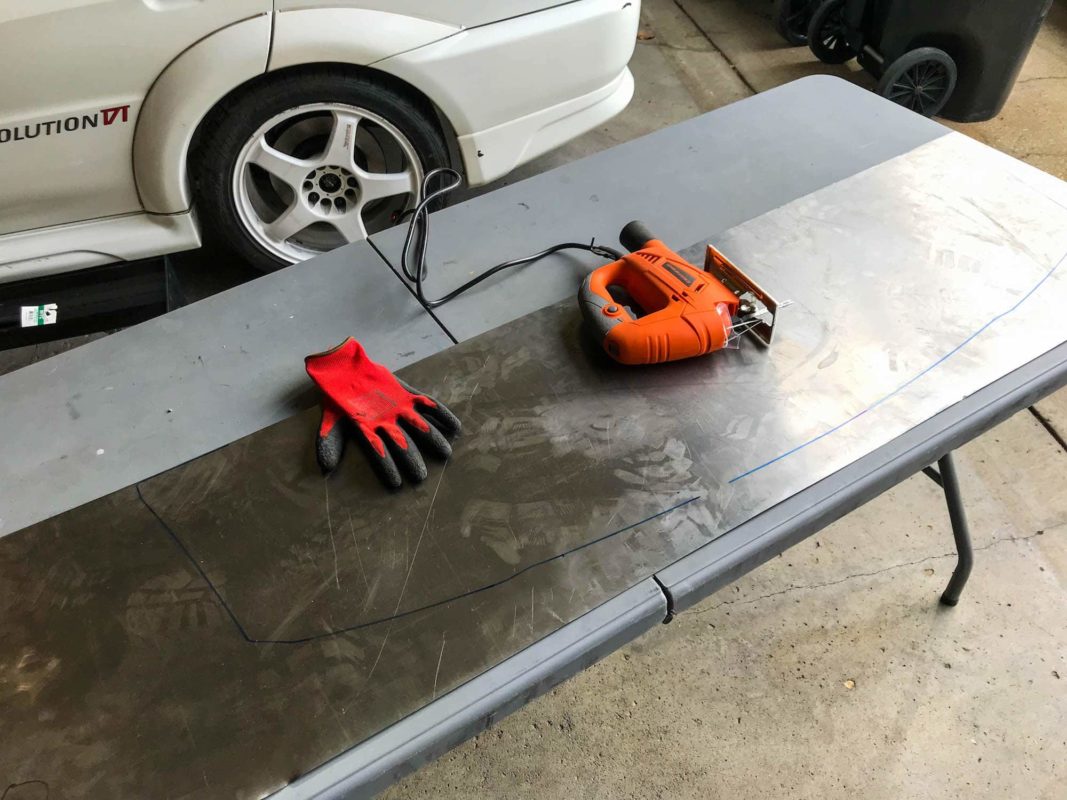
Once you have ensured the cardboard template fits, transfer it over to a piece of metal. We used a sheet of 20 gauge steel for our project. Mark out the shape, and start to cut. For us, we used an angle grinder for this, as our jigsaw was misplaced at the time. The problem with using an angle grinder is the accuracy of the cut. As you remove the material, often the marking will also disappear making it difficult to check where you are cutting. (Next time we will take the extra 5 minutes to find the jigsaw! Don’t make our mistake for your custom rear firewall…)
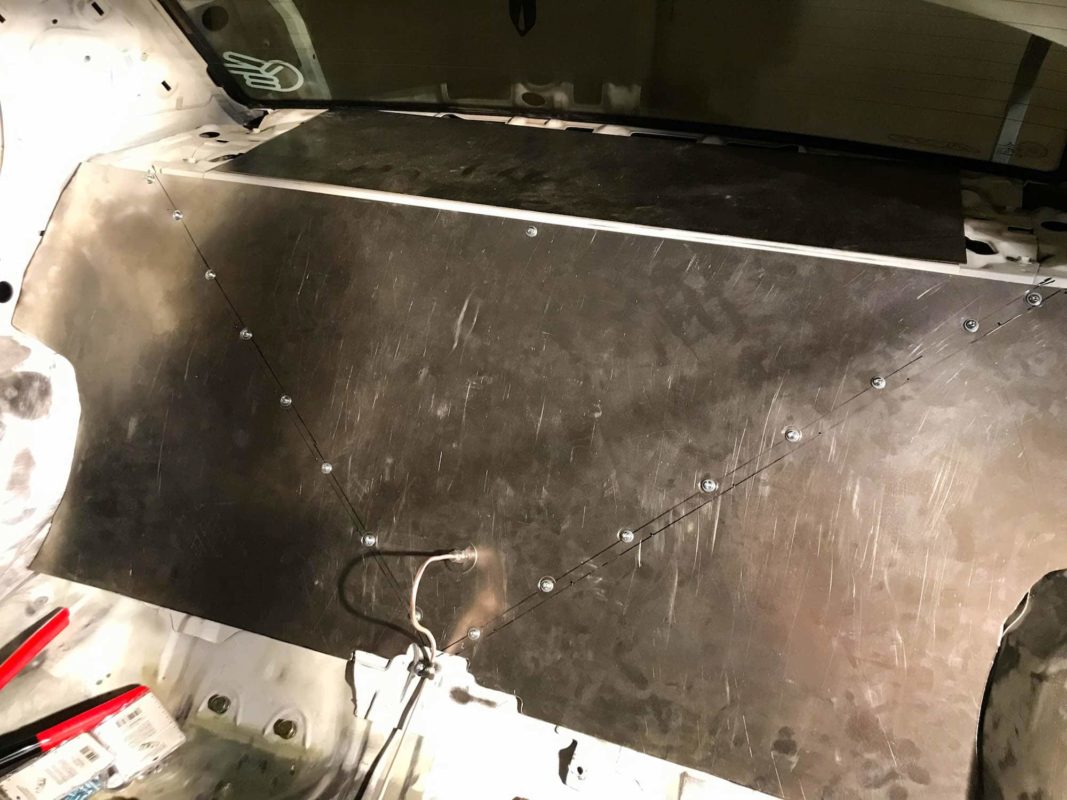
With the cutting all done, we moved the piece into the car and checked the fit of it. It wasn’t too bad, and we only had to shave down a couple spots to get the piece to fit. With the panel now in place, we started to drill holes for mounting it up. The fuel cell isn’t going to be going into the car until 2020, so we will get around to welding it another time. For now, it is simply a divider. But for any of you who are planning on doing the same, you need it to be a complete seal if there is any fuel in your trunk. We used threaded rivets for attaching the panel, along with some small button head bolts.
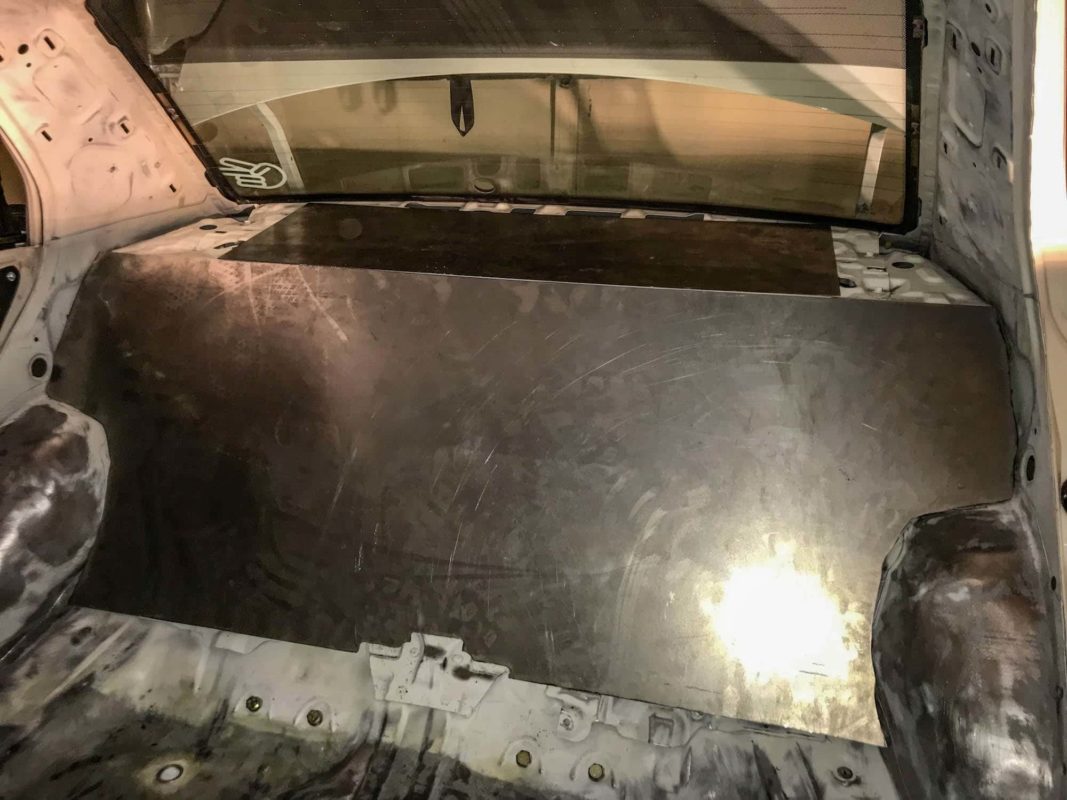
The next thing we had to do was drill a hole for our rear brake line to pass through. We installed a -3 AN bulkhead fitting, and attached the rear brake line to it. We put a pretty big bend in our line right before the firewall, in case we ever need to service it. This provides us with extra line to cut away from.
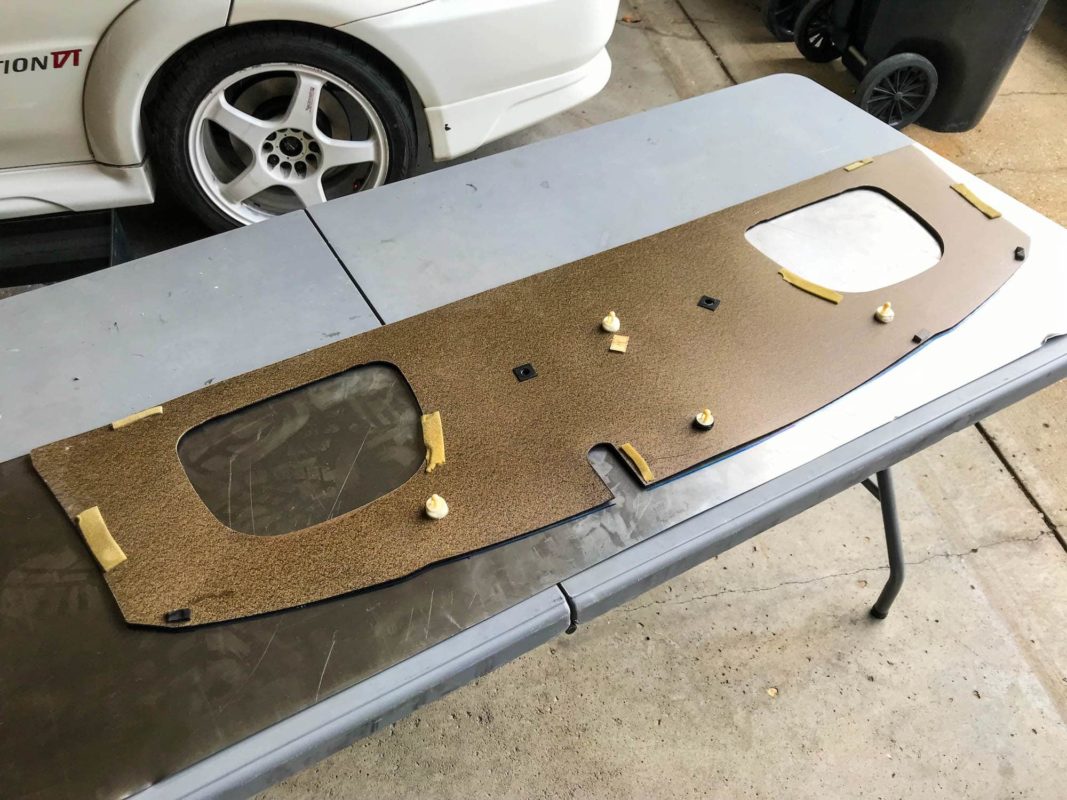
With the rear panel all done, we moved on to the rear shelf panel. This one is a lot easier to work on as you can simply trace out the shape from the board that used to sit there. This time, we finally had found our jigsaw, and we were able to quickly cut out the panel. A flapper wheel on an angle grinder helped to clean up the edges, and within 30 minutes we had a new panel ready to install. The next steps will be to attach the panel to the shelf, and later on, weld it in when we install the fuel cell.

We had originally planned on doing the fuel cell this year, but since this is a budget build we are working on, every now and then we have to make cost prioritization a part of the decision making. This year, it’s a custom rear firewall, but next year we will have some more leeway with budget and time.
With the fuel cell on hold until next year, we will instead be modifying the stock fuel tank with a custom pump hanger to ensure we get an adequate flow out of it. Stay tuned for a future blog post regarding this custom piece and the fuel system setup!
So basically that’s it! If you’re going to take your car to the track, you’ll definitely benefit from taking out the spare wheel well and bolstering the stiffness with a support beam. And for sure, if you’re planning on removing the seats for some weight savings, building in a custom rear firewall is going to clean up the back half of your car and give it a professional, finished look.
If you have any questions or comments, drop a note in the comment section below! We’re happy to talk shop anytime.