What is it that drives you to build a better car?
Oftentimes in life, it’s the biggest challenge that gives you the biggest satisfaction.
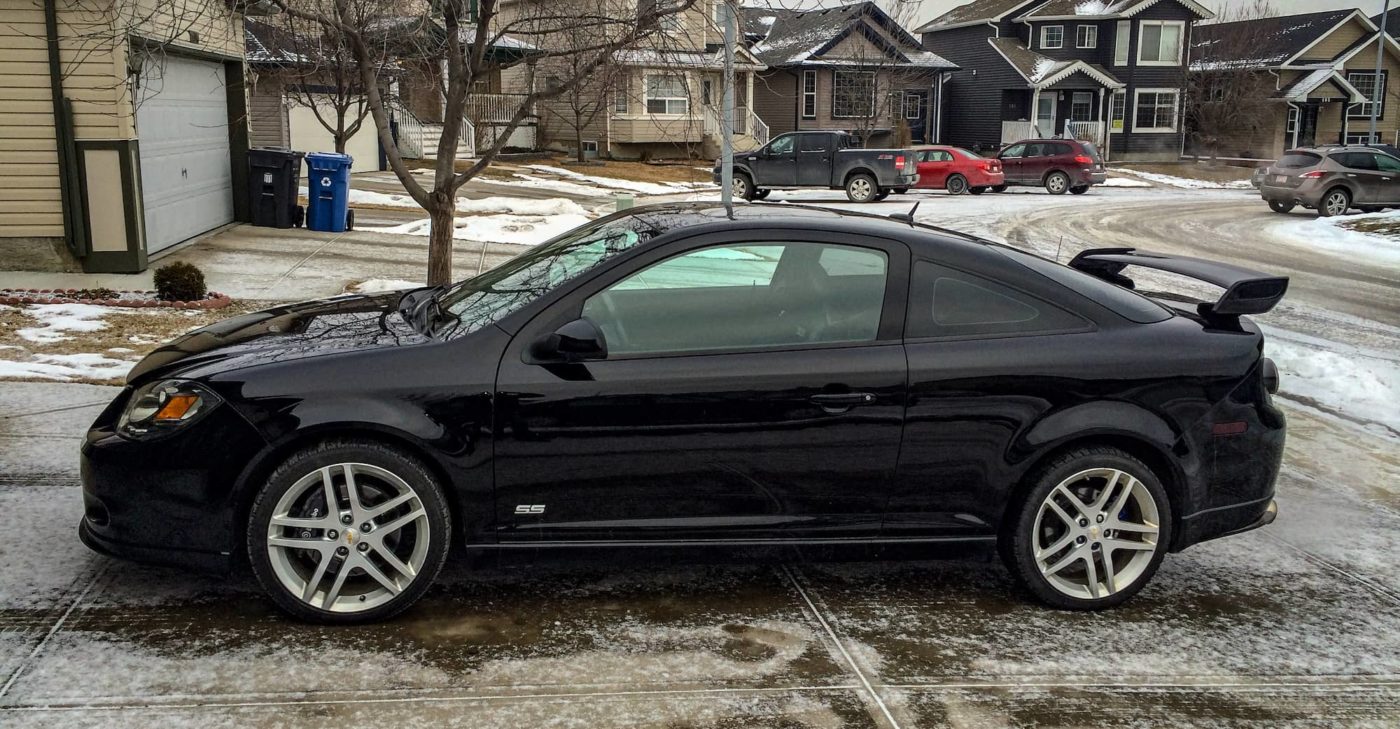
When I bought my Evo 6 back in 2015, I didn’t know where I was headed with it. At all. In fact, the two weeks leading up to the purchase of the car had gone by so fast, I don’t think I even had a chance to think about it. Basically one day I woke up and suddenly decided I wanted to sell my turbocharged 2009 Chevrolet Cobalt SS. I needed a new challenge.
It was a car that I had poured a lot of time and effort into, but I still felt like I was missing something with it. The power was great, and the boost was pretty awesome for a stock engine (30 psi!), but I still wanted something new to play with. Unfortunately, I didn’t know what that new car was going to be. But I was going to have to figure it out pretty quick, because a couple weeks after I posted the car ad, I was driving across the city to meet the future owner of my Cobalt. We took it out for a test drive, and I could tell by the smile he wore that it was sold. With the shake of our hands, arrangements were made for delivery in a couple days.
That night I headed home and quickly jumped on to Kijiji (a buy and sell website for my area) and started looking for my new car. I knew two things; I wanted it to be turbocharged, and AWD was a must. Now the turbo requirement – that’s just because I love choo choo sounds! But the AWD, that was necessary for the snowy Canadian winter it would have to endure. This car was going to be my daily, so it needed to be able to cope with anything I tossed at it. With these requirements in mind, I easily narrowed my search down to two different cars – the Subaru Impreza and the Mitsubishi Evo.
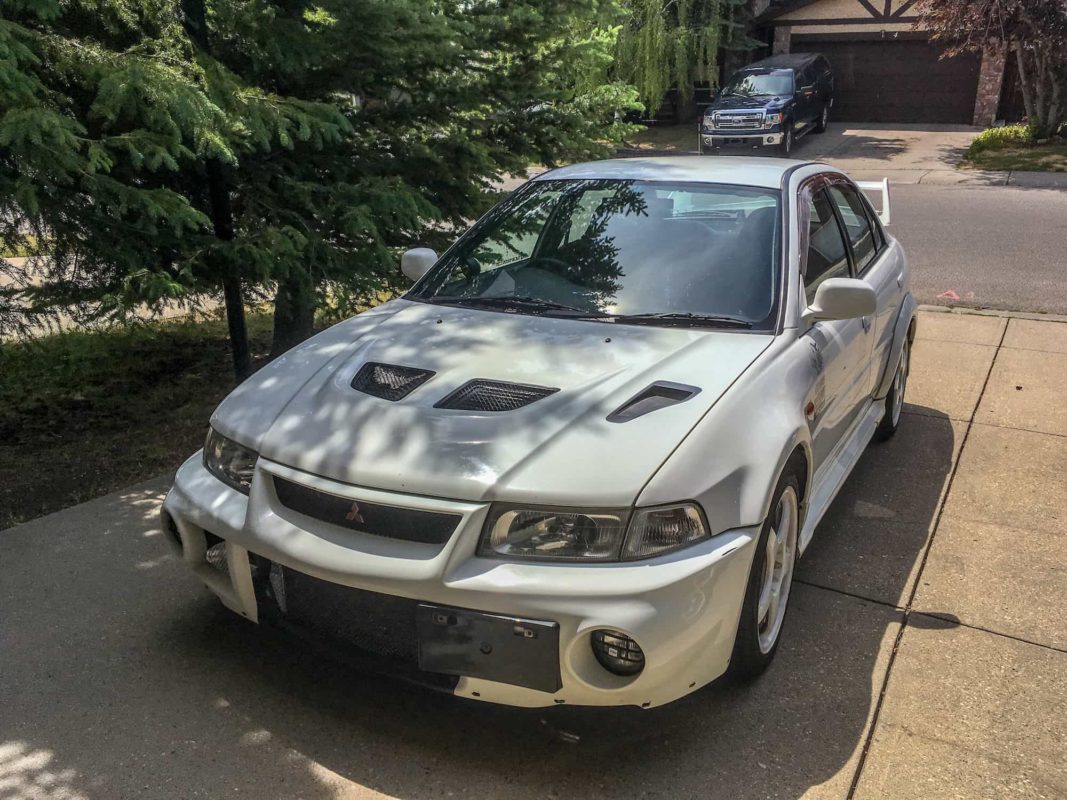
I may have found the right car…
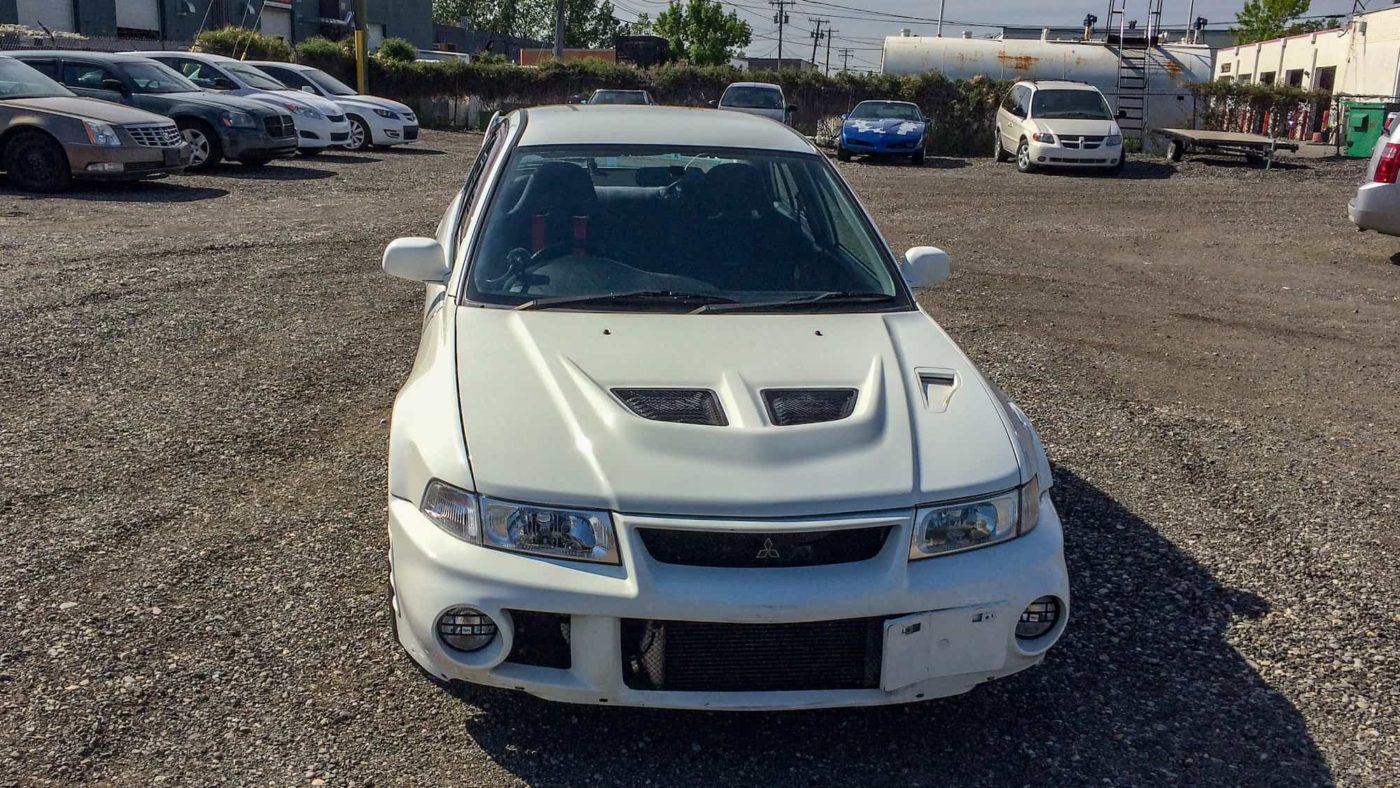
Fortunately for me I live in Canada and our import car laws are pretty easy going. A vehicle only needs to be 15 years old to import into the country. And as luck would have it, my search online had yielded a pair of recently imported 1999 Mitsubishi Evolution VIs. Both were from the same import company too, so comparing them would be super easy.
The next day I woke up early and made the trip across town to see the two cars. I arrived at the business and was quickly shown to the lot. A quick glance at the vehicles told me that one of them was a clean stock car, while the other was slightly modified, and judging by the exterior, had probably been involved in a collision or two (but I don’t judge). Now I can’t quite remember what was going through my head that day, but for some crazy reason I gravitated towards the fixer upper. Maybe I felt sorry for it, worried that it would never find an owner. But, an hour later, I had made my choice and put a deposit on the war wounded Evo.
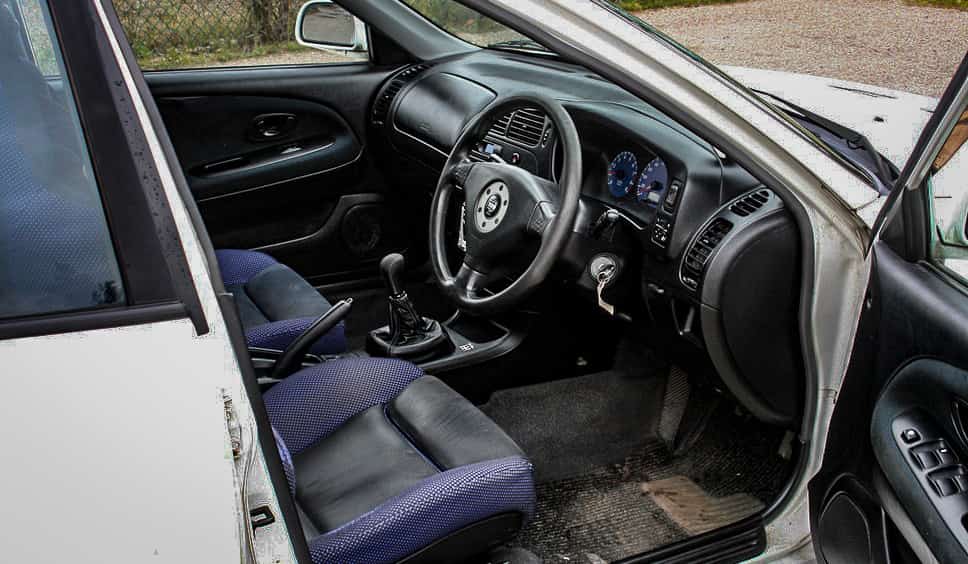
Within the week, the paperwork was taken care of, and it was time to head over to the import company lot to pick up my new car. It was rush hour by the time I finished signing things and getting the keys, and I had an entire city to cross. Suffice to say, I now had plenty of time to sit inside the car, waiting in stop-and-go traffic. During one of my many stops, I looked down to realize that the mats had seen better days and the shift knob leather was worn down beyond repair. Honestly, I may have become a little over excited at the prospect of cleaning all the crap out of the car and there may have been a modest celebratory rev. These things happen.
However small a task, I actually really looked forward to the chance to replace the mats and gearshift to my liking. Buying a car like this is almost like a adopting a pet – you take it in out of the cold and give it love and attention. Hopefully in return, the beast gives you its best as well.
You start out with the simple things
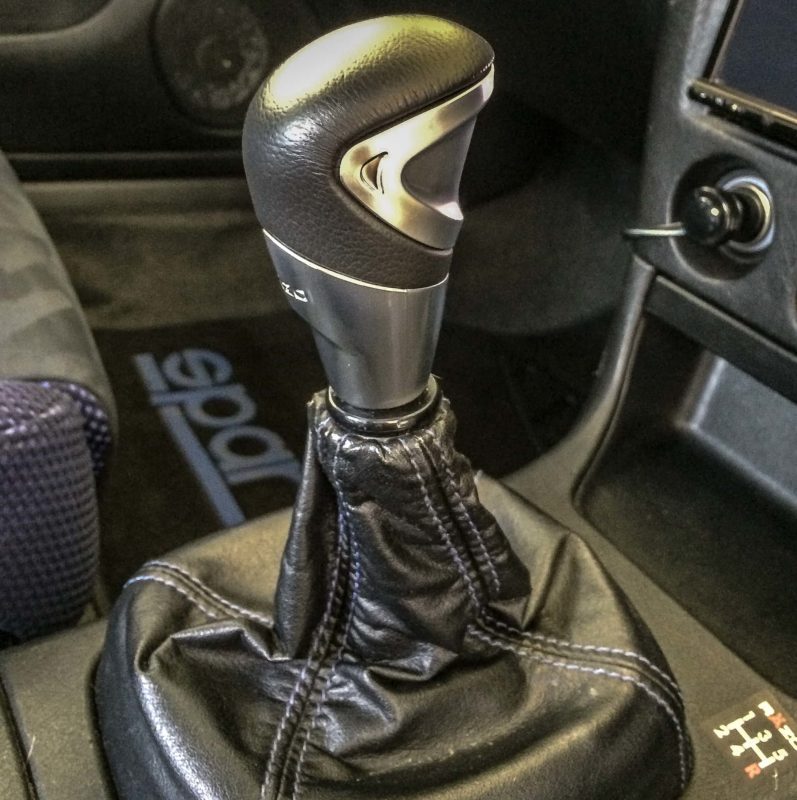
When I got home, I immediately set to work. The first things to go were some decals on the outside of the car, followed by a full clean of the inside and exterior. I fitted some Sparco mats and a new Razo shift knob as well, which helped to clean up the interior a bit.
Deep down inside I actually appreciate the stereotypical JDM look, so yes, I did indeed install the wide rear view mirror. Then I thought, “can I take this a step further?” Of course I could! Over the next year I installed a Playstation 2 in the glovebox, a new sound system in place of the stock speakers, and I gave a subwoofer some nice real estate in the trunk. And this was only the “style” mods.
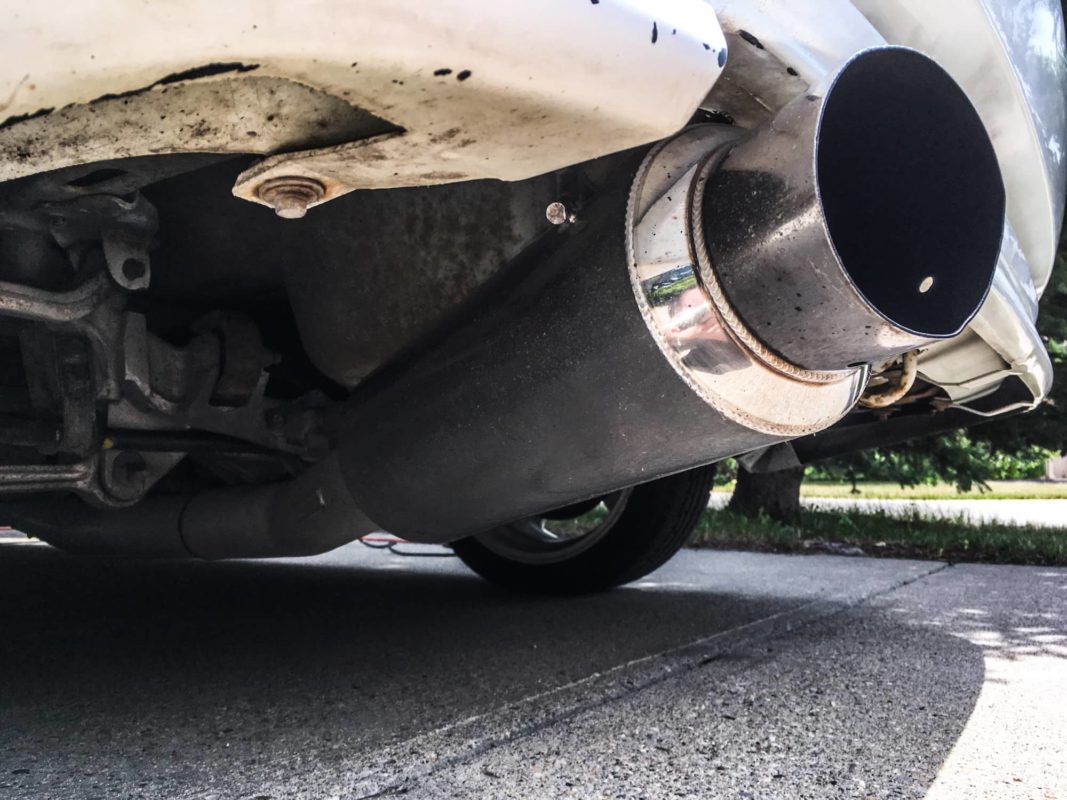
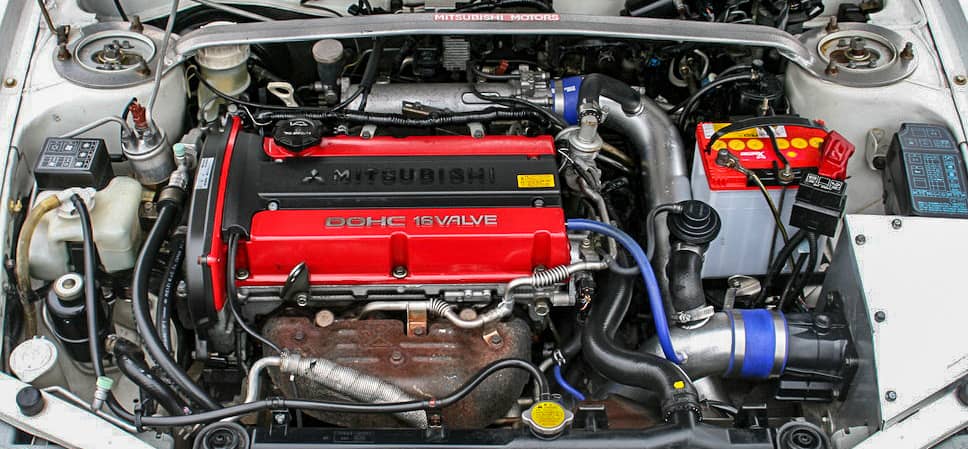
The engine bay had its fair share of upgrades too! I installed new intercooler pipes and an air intake, followed by a custom 3” exhaust system from the turbo back. Then came an HKS SSQV blow off valve, a Mishimoto baffled oil catch can, and an ARC exhaust manifold heat shield. After all this, I put in a Link G4 ECU with a custom speed density tune to run the car. An IAT sensor, 3 bar map sensor, and AEM wideband gauge were added to assist the ECU, as well as a COP (coil on plug) setup running sequential ignition. Things were not only looking good, but starting to sound and run nicely as well.
What does any of this have to do with inspiration?
Let me explain! See, when I first bought the car, I didn’t have any clear direction with what I wanted it to be. I was quite content with slowly adding modifications as I saw fit. I was constantly looking through forums and image searches to find new ideas that I wanted to explore. At the time, my inspiration came from other Evo owners. This mix of different styles and ideas made for a fun car that I enjoyed driving every day. But eventually, after going to several car shows and events, I started to realize that I wanted the car to have more of a theme. I was now motivated by the amazing show cars I had seen, and wanted to try a new concept with the Evo.
Now for anyone that doesn’t know the history of the Evo, only three words are required: World Rally Championship. The car was born and bred to be a top contender in the rally series, and for many years it dominated. With the Finnish driver Tommi Mäkinen behind the wheel, the Evo went on to win 4 years in a row between 1996 and 1999. The driver was so iconic at the time that Mitsubishi even released a “Tommi Mäkinen edition” of the Evolution 6 (commonly referred to as the Evo 6.5). It was a highly sought-after version of the car that still fetches an amazing price. Finding one of these versions would have been near impossible for me, and even if I had, it wasn’t what I was after. The special edition featured new colors and an awesome exterior paint job, but it still had the same dash and features of an Evo VI GSR. I wanted more than that. I wanted my Evo to feel like you were sitting in the driver’s seat of a WRC car. So, with inspiration leading the way, I started the new phase of modifications.
Birth of a rally car?
To own an actual rally car is an expensive endeavour. Competing in even an amateur series requires many spare parts, a major investment into the handling of the car, and lots of other various expenses. It’s preferable to get a sponsorship to assist in all of this, but I wasn’t looking to set up my vehicle for an actual rally at the time. I still wanted it to be capable of driving on city streets when I felt like it. I was, however, given a perfect opportunity to work on the car more in depth when I bought a new daily driver for work. With my commute all set in my new Honda Civic Hybrid (look, I was trying to save money on gas!) I was finally able to work on the Evo without worrying about downtime.
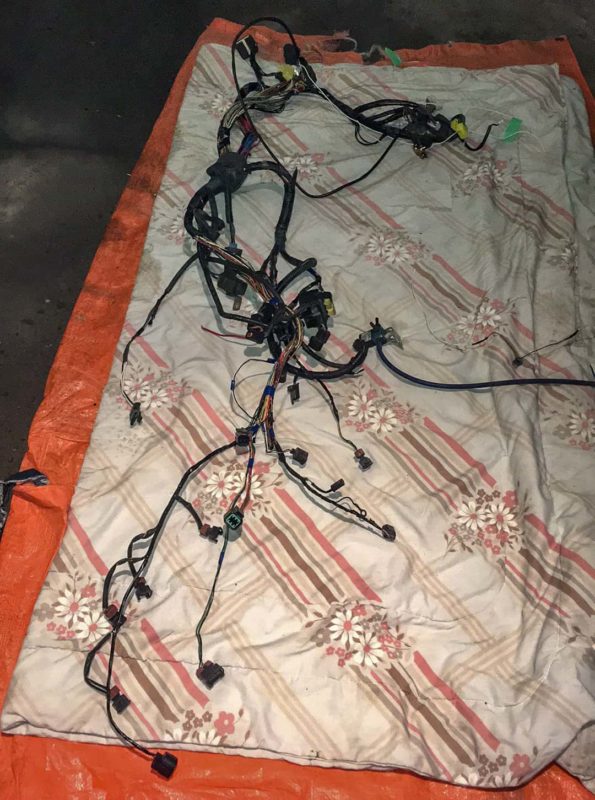
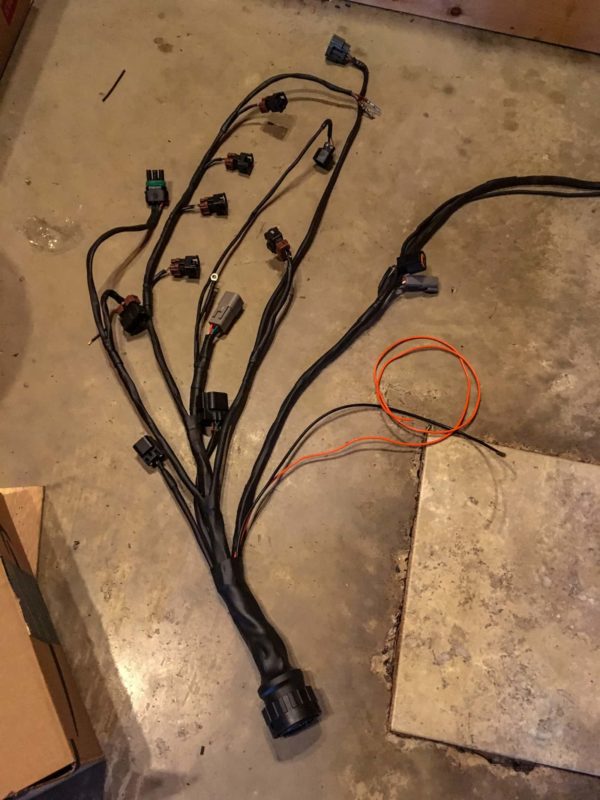
With the winter of 2017 in full swing, I parked the Evo in the garage and set about stripping the engine and the interior. My goal was to rewire the engine bay and relocate all the fuses and relays to the inside of the car. Since the car was running on a Link G4 ECU, I was able to remove a lot of obsolete wires from the bird’s nest of an engine harness. After many hours of research online, I was able to find new connectors and pins for the majority of the sensors and connections in the engine bay. The goal was to have one harness routed through the firewall. The inspiration here came from images of “milspec” harnesses. In a future post I will cover the connectors that I used, where to source them, and how to properly wire them all in. After many frustrating hours of wire routing, checking wiring diagrams, and heat shrinking and crimping, I ended up with a finished product that I was proud of. It was by no means perfect, but it was going to work for the time being.
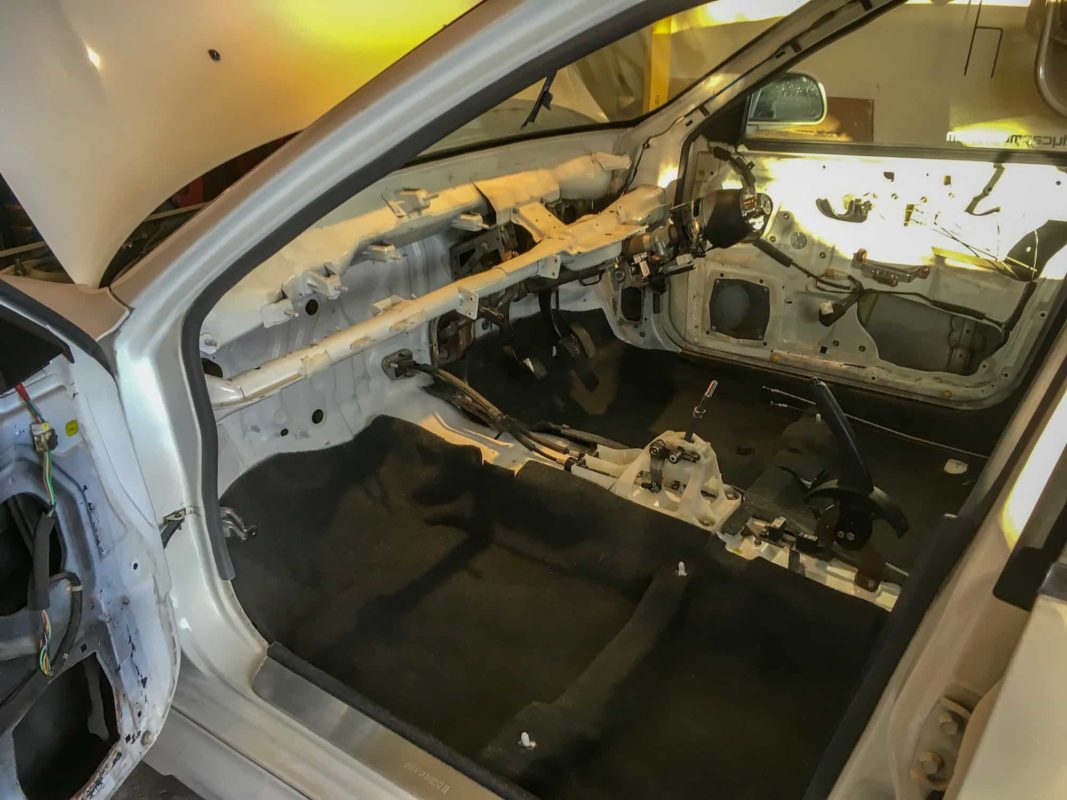
During the removal of all the extra wires, I also opted to remove the air conditioning from the car. This was both for the weight savings, as well as opening up an output on my ECU. I even decided to remove all of the HVAC system from under the dash. This included the heater core, fan, and all the ducting. This was partly to make room for the new fuse and relay box I had built, but also because I wasn’t intending on driving the car all that often. The removal of this system also made it very easy to pull out the dashboard and route the wires to the firewall.
Changing up the interior
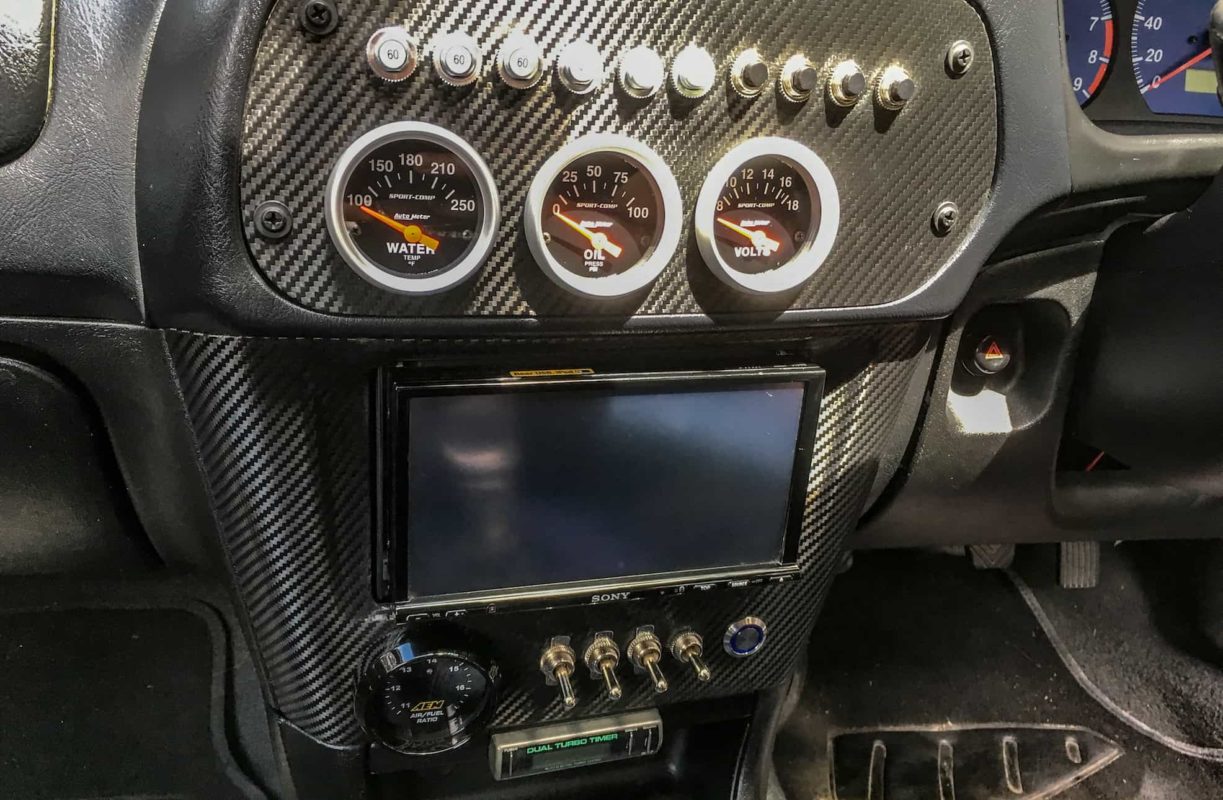
The dashboard was my next step in the project. I intended on removing all the HVAC controls and replacing them with toggle switches, circuit breakers, and gauges mounted on a new panel. This was another piece heavily inspired by images of rally car interiors. Of course, I didn’t want the toggles to just be for show, so after drawing up my own set of wiring diagrams I started to wire up the new panel. Once again, I will be posting up more information on this process down the road.
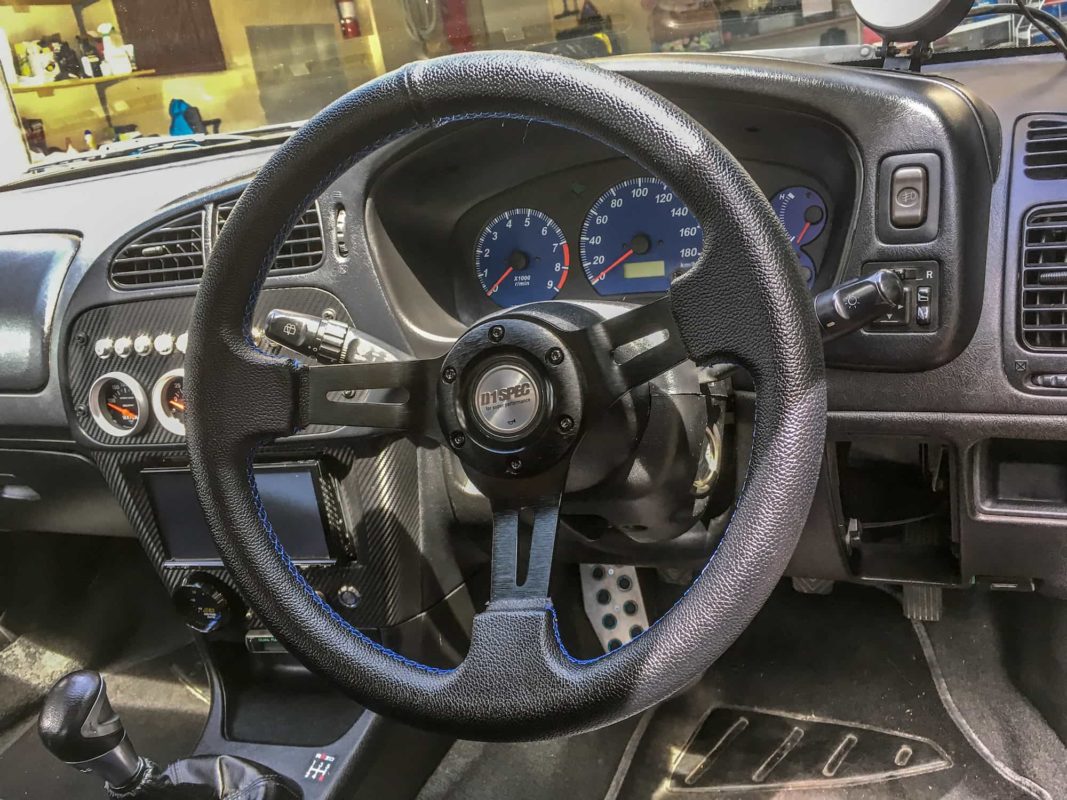

With the panel in place and the dashboard ready to go back into the car, I had only a few final touches left. The battery was to be relocated to the trunk, in the interest of shifting some weight to the rear, and to also clean up the engine bay. A battery box and 2 AWG wire made this a success. As well, I removed the OEM steering wheel and airbag and installed a Japanese D1 Spec steering wheel in its place. Finally, a Schroth Rallye ASM 4-point harness was installed on the driver seat to keep my face from meeting the new steering wheel. Now I know there is a big debate out there on the safety of using any harness on a street car, especially in the event of a roll over. In hindsight, I do believe it is always best to side with caution, and if I were to do it over again, I would only install the harness with a roll bar or cage in the vehicle.
Accomplishment quickly becomes further inspiration
With all of my rally car inspired modifications completed, I was ready to take the car out for the summer. All of my hard work had finally paid off, and the car started up without any issues. It was at this point late July in Canada, so I only had a couple months left to enjoy the car before winter set in! But enjoy it I did. Driving it brought a smile to my face, and showing it off to friends and family gave me a great feeling of accomplishment.
It had taken a long time to get it to this point, but I was finally happy with my Evo. Or at least that’s what I thought… for a bit. By the time Fall came, I found myself once again drafting up new plans for the car. I parked it in the garage and set about on a new chapter. This time I was going to refine everything I had done to the car, using all the lessons I had learned from the last year. A new goal was set, and a competition time attack car became my new inspiration. The rest is still to be told.